Windows Installer
WARNING: The version of windows installer is outdated and unmaintained. Please refer to Installing iDempiere guide.
Origin page from Red1
New iDempiere's NSIS scripts and Windows Installer
There is a new and updated iDempiere windows installer made by Ing. Tatioti Mbogning Raoul(tatiotir). He have modified the original NSIS scripts making a lot of changes. This will be kept alive as a continuation of the great work by Red1. He has also made NSIS scripts to generate a 64 bits iDempiere's installer for 64 bits operating systems.
iDempiere NSIS Scripts
The new NSIS scripts are available and documented at this page : IDempiere_Installer_NSIS_Script_Documentation
iDempiere Windows Installer
The new installer is available and documented at this page : New_Windows_Installer
Download
- Installer idempiere1.0.a. (420Mb)
- Tutorial guide PDF done with Upgrade Assistant that takes incremental migration scripts monthly basis.
Features
- An upgrade installer is tested working based on NSIS sample.
- Upgrade will check for migration scripts in zip file in iDempiere-Migration.
- Any change in there will result in the file been fetched, extracted and then user runs ANT build.xml to apply the changes.
Knowledge Resources
- The core NSIS installer script.
- Public forum discussing progress of this installer.
- SourceCode is at http://sf.net/p/red1
Maintainers
- Red1 sponsored by SYSNOVA, Bangladesh.
 Short Description
After downloading iDempiere Windows Installer
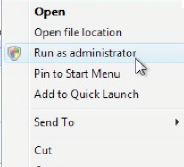
- Right click on it, Select Run as administrator
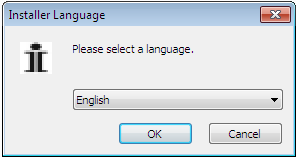
- Then you can select your language for the menu to continue in
- Fill in the target directory of your iDempiere. You may change any drive or directory name according to your machine. It will create the dir if not existing.
- In this case it is E:\\iDempiere and it detected Java was installed so it will not do so. Otherwise you have to accept the presets or change them.
- If the database is not installed before, it will do so as D:\PostgreSQL\8.3
- Fill in ‘adempiere’ as the passwords. Press enter or click on Install.
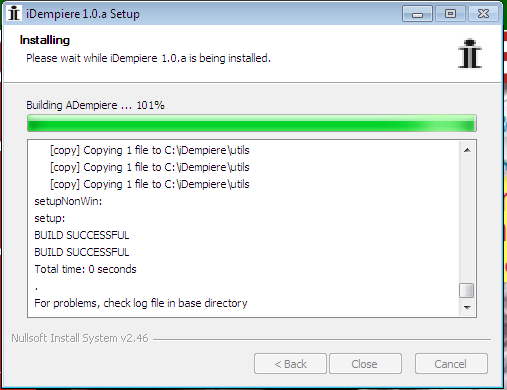
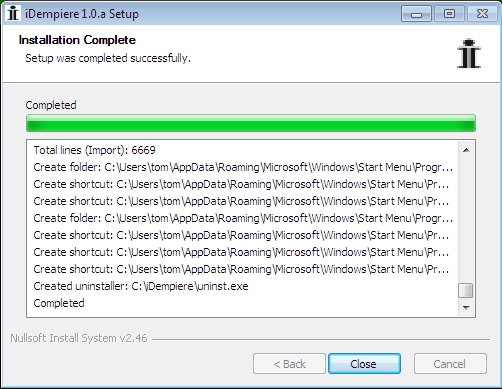
- In the end it shows the Completed status with BUILD SUCCESSFUL inside the logs. Note that it ask you to refer to Import.log for details of the database restore. You can click on the Close button.
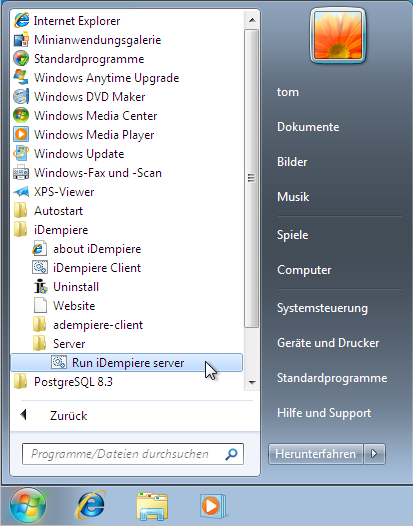
- Go lower in the contents and you can see iDempiere.exe or idempiere-server.bat. Both will do the same thing. Choose either one and launch it by opening or double-clicking it. There should be a shortcut created for this in the Desktop.
 Detailed description of the installation
 Safety information and Tips
Ensure your computer name is easy to remember or typable for future convenience. If you have previous ADempiere, you can still proceed as this will only install iDempiere in a fresh location but over-write your PostgreSQL database, so it is good if you back it up first. But tell you what, why not get a new Windows machine to put this in?
The languages provided are many for the menu to appear in, but it depends on youWindows language pack. If you are in Romanised English you won’t see the other exotic language formats.
 Start setup and follow the steps
- After downloading iDempiere Windows Installer
- Right click on it, Select Run as administrator
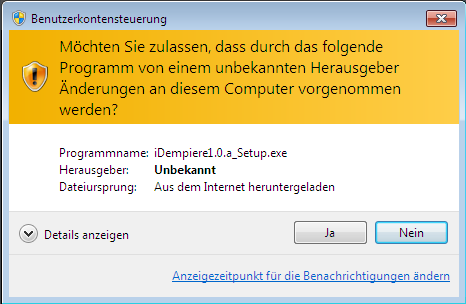
Confirm "yes" at the security query
Message:
Message:
The languages provided are many for the menu to appear in, but it depends on youWindows language pack. If you are in Romanised English you won’t see the other exotic language formats.
Then you can select your language for the menu to continue in
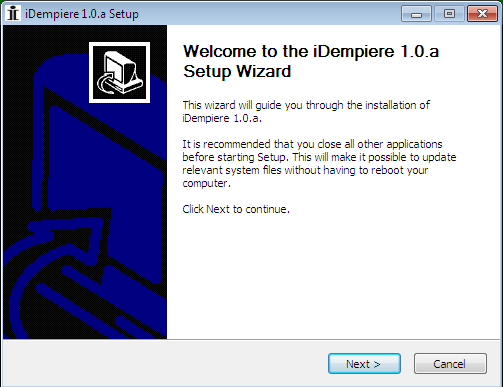
Confirm the welcome screen with "Next"
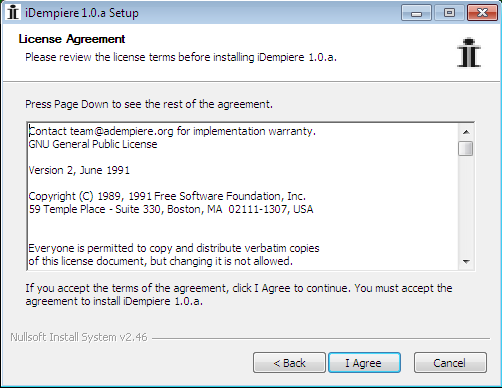
Agree the license agreement
Wallpaper:
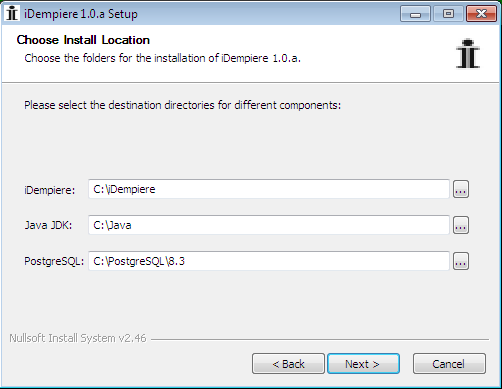
- Fill in the target directory of your iDempiere. You may change any drive or directory name according to your machine. It will create the dir if not existing.
- In this case it is C:\iDempiere and it detected Java was installed so it will not do so. Otherwise you have to accept the presets or change them.
- If the database is not installed before, it will do so as C:\PostgreSQL\8.3
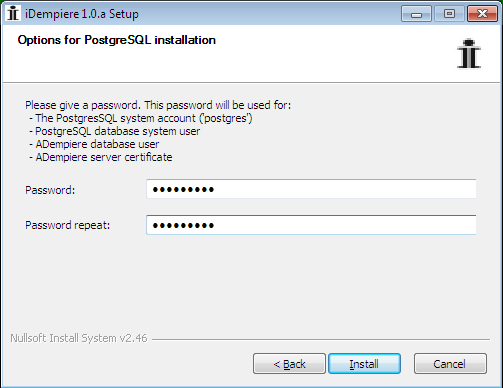
IMPORTANT: PASSWORD = adempiere
The password is hard-coded during Import of Database so you have to set it as adempiere here too. If your old Database is not similar you can back it up and uninstall it for a fresh install. But tell you what, why not get a new Windows machine to put this in?
The reason for a common password is for easier trouble-shooting as many of the issues that cropped up are during initial steps. Later if you see a pop up panel window below, it means the database engine installation is progressing well. Note the messages displayed.
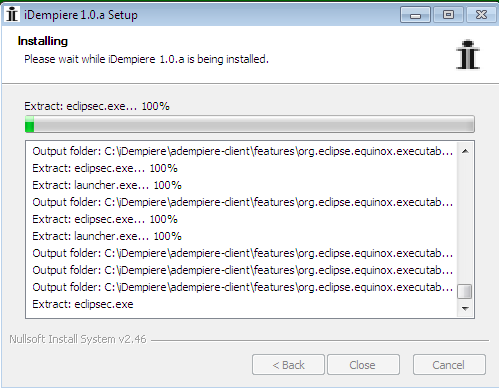
When the PostgreSQL database engine installation is going on well, your screen pop-up will display ‘Execute’ line as shown on the right. If you are familiar with the Task Manager in Windows (Ctrl+Alt+Del) you can see as shown in next screen where the Processes tab has a line msiexec.exe Windows installer. This shows your installation is working in memory. You need to know this if you abort your installer half-way and the process is still left hanging in memory. Then you can come here to check and end the process manually. The last screen below is peeking into the directory explorer where the target drive was created and has the needed application files. In this case its the database engine app. If Java is needed so will they appear too. As soon as the DB installation is over, the working files will be removed and the idempiere-server and its contents will be copied there. Then iDempiere setup and Import of the database happens. That will then quite complete the whole installation process.
You will note that next thing after full extraction of idempiere-server contents and adempiere-client, it will do the setup of the iDempiereEnv.properties. Lastly the Importing of Database will happen. It is actually doing DBRestore of the ExpDat that is the ADempiere 360LTS upgraded to all changes done by Carlos Ruiz according to what Heng Sin ported further to the OSGi framework.
In the end it shows the Completed status with BUILD SUCCESSFUL inside the logs. Note that it ask you to refer to Import.log for details of the database restore. You can click on the Close button.
Start iDempiere Server
Go lower in the contents and you can see iDempiere.exe or idempiere-server.bat.
Both will do the same thing. Choose either one and launch it by opening or double-clicking it. There should be a shortcut created for this in the Desktop.
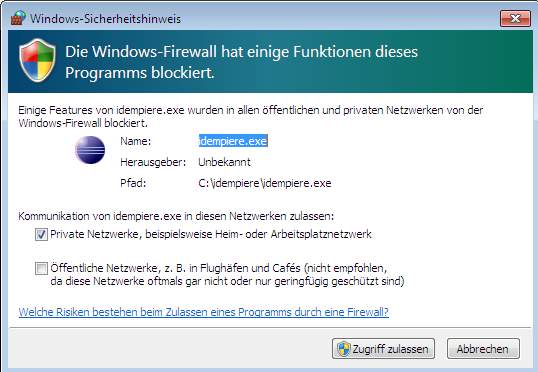
Accept Windows Firewall
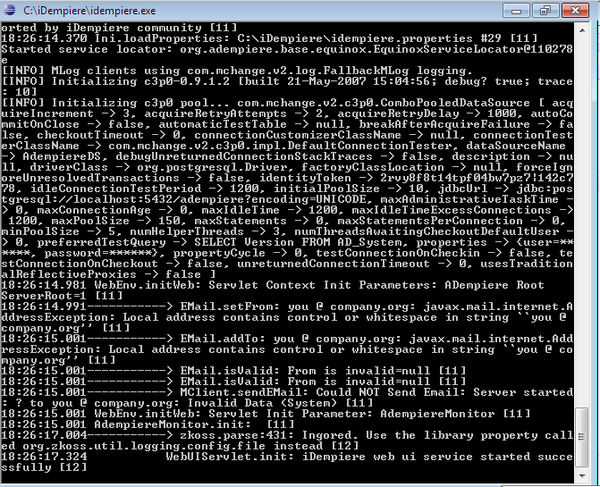
iDempiere web ui service started successfully
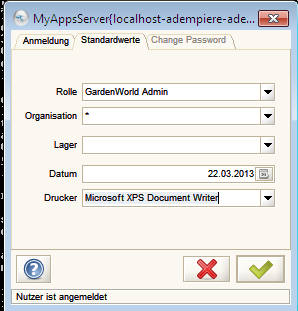
Load Swing Client
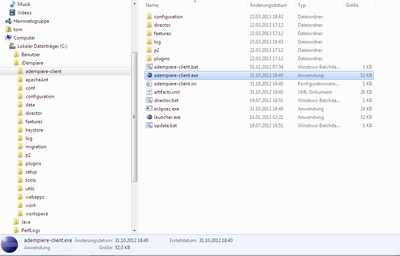
Load: iDempiere\adempiere-client\adempiere-client.exe
Just launch it from the adempiere-client directory and run adempiere-client.exe
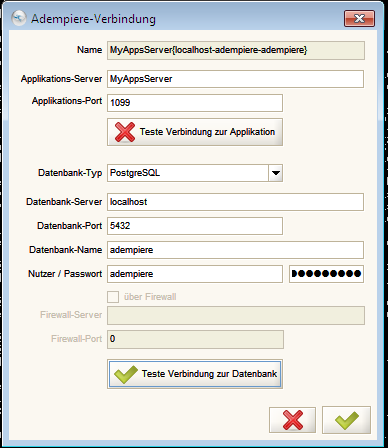
Connection properties
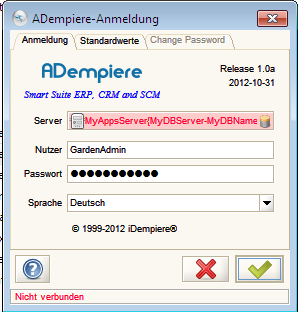
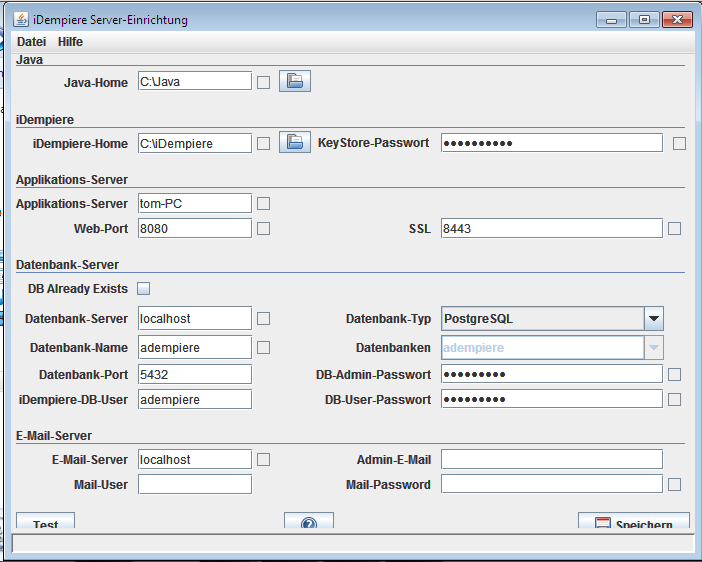
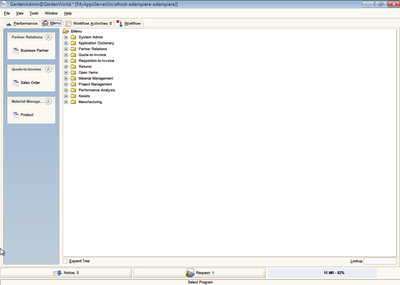
You can check the DB connection properties to be OK first by the usual icon on the top left of the previous window. At below you can see if the values are as below. If not you do that manually or run the setup again such as setup-alt.bat in the next screen.
Swing
WEB-UI
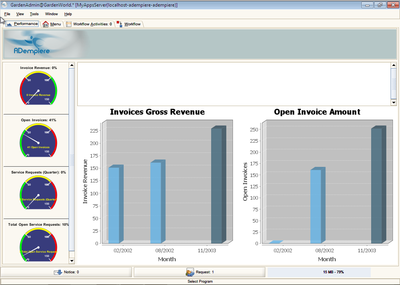
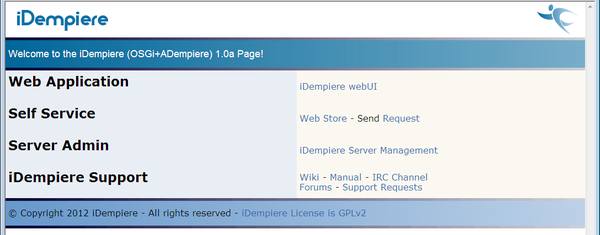
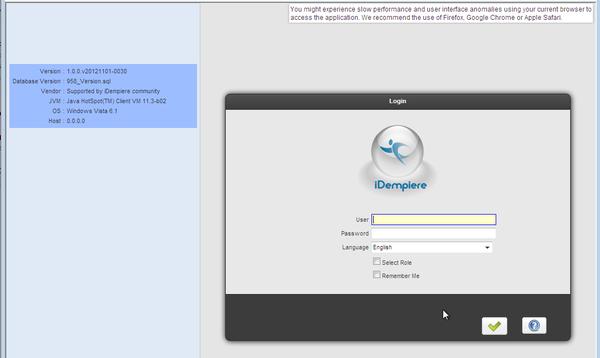
Now we are all clear to do some functional steps. After launching the idempiere-server OSGi bundles, you can assess the Ajax UI from the browser by
and login as usual SuperUser/System
and in the ERP call up a Sales Order to make a simple order.
Thanks to Red1
The Basics for this Wiki page are from the tutorial guide PDF
New iDempiere's NSIS scripts and Windows Installer
There is a new iDempiere windows installer made by Ing. Tatioti Mbogning Raoul(tatiotir). He have modified the original NSIS scripts making a lot of changes. He has also made NSIS scripts to generate a 64 bits iDempiere's installer for 64 bits operating systems.
iDempiere NSIS Scripts
The new NSIS scripts are available and documented at this page : IDempiere_Installer_NSIS_Script_Documentation
iDempiere Windows Installer
The new installer is available and documented at this page : New_Windows_Installer


