Developing plug-ins without affecting the trunk
This How-To is brought to you by Jan Thielemann from evenos GmbH. If you have questions, criticism or improvement suggestions, feel free to visit me (Jan.thielemann) or write me an email
The goal of this How-To
This How-To is about developing plug-ins which are not targeted to be pushed into the trunk. You might want to do this because:
- the plug-in is for personal use only;
- the plug-in is for testing or tutoring purposes;
- you have customers that require customized plug-ins that run on the same base;
- you want to separate plug-in and base development so you can push fixes and improvements to the trunk without exposing your plug-ins.
Prerequisites
You must have the iDempiere workspace running in Eclipse with the Mercurial client and the Mercurial Eclipse plug-in.
Related tutorials
If you don't fulfill the prerequisites, you should take a look at the following How-Tos:
- Good how-to about installing iDempiere by GlobalQSS
- Install Prerequisites on Ubuntu
- Download the Code
- Setting up Eclipse
- Importing DB Seed Manually
The workflow
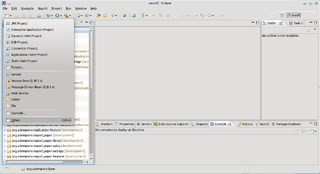
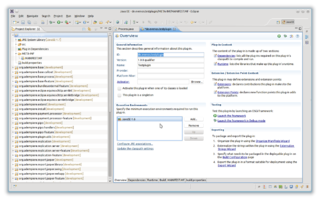
After your workspace is set up and usable, we can start creating new plug-ins. To do so, create a new plug-in project by clicking "File>New>Other...".
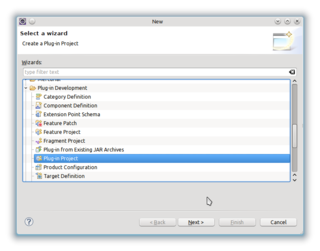
Select Plug-in Project in the Plug-in Development folder and click "Next"
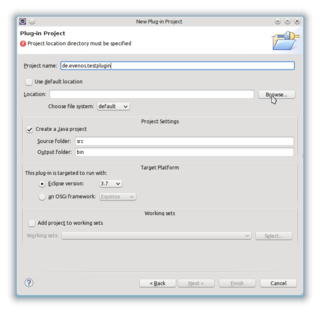
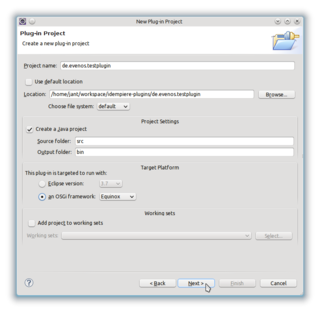
Give the new project a name of your choice (typically your reverse domain name and the name of the plug-in) and uncheck the "Use default location" checkbox. Now you can chose your own location by clicking on "Browse..."
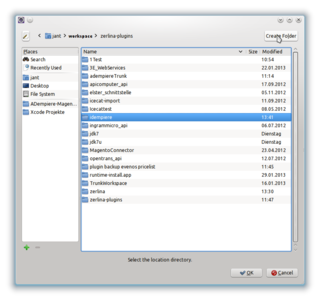
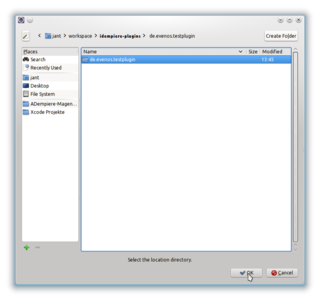
Since our idempiere workspace lies in /home/user/workspace/idempiere, it is a good idea to create an additional folder for your plug-ins. In our case, we create the folder idempiere-plugins (/home/user/workspace/idempiere-plugins)
Because we probably will develop more than one plug-in, we create an additional folder for each plug-in the the idempiere-plugins folder. We chose the name according to our project name. In our case it is "de.evenos.testplugin". Select this folder and click on "OK"
Make sure that this plug-in is targeted to run with the Equinox OSGi framework and click on "Next"
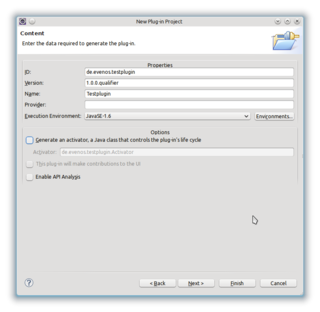
Select a execution environment of your choice (Java 11 is a good idea) and uncheck the "Generate an activator..." checkbox. Click on "Next"
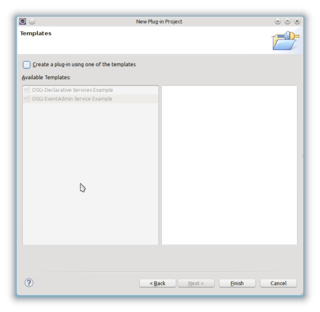
Uncheck the checkbox and click on "Finish", unless you want to create the plug-in using a template.
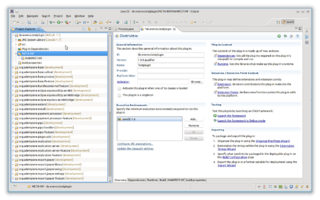
The new plug-in project gets created. You may notice that, unlike the other projects, your new plug-in is not attached to a repository (notice that other projects have the [development] tag behind their name)
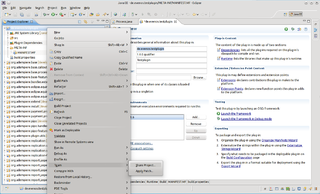
You probably want to track changes in your plug-in, share it via Git or have the need to work together with others, so lets make the new plug-in ready to use with Git. To do this, rightclick on the project and chose "Team>Share Project"
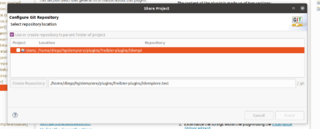
Check the "Use or create repository in parent folder of project" Make sure that the correct path is set and click on "Create Repository".
Once this is done, click on "Finish"
Congratulations, your new plug-in is ready for development. All changes you commit to your plug-in won't affect the idempiere repository.
Additional Notes
Instead of creating a Git repository for each of your plug-ins and fragments, you can also follow another approach:
- Create a directory on your hard drive which will contain all of your plug-ins and fragments
- Create a Git repository in this directory
- Place all new created plug-ins and fragments in the repository directory and skip the part where you create the repositories
- Now you have one big repository containing all your files
Declare Service Annotation Get rid of xml
Reference link
- Improve of DS from oxygen
- document about Annotation
- vogella blog
- Eclipse modify felix scr a bit, so api document more extract here
How to use
- You need to use Eclipse Oxygen or a newer version
- Set up Eclipse to support DS annotation. Window > Preference > Plug-in Development > DS Annotations (see image below)
- Add "org.osgi.service.component.annotations" as an Imported Package in your plug-in Manifest file.
Service factory
- On factory classes add an annotation like the one bellow
| Sample code |
|---|
|
@Component( property= {"service.ranking:Integer=2"},
service = org.adempiere.base.IProcessFactory.class
)
public class JRProcessFactory implements IProcessFactoryNew |
- You don't need a service if you implement a direct service interface like IProcessFactory
- For array properties, repeat properties name
Event handle
- On Event Handler classes that extend from AbstractEventHandler add an annotation like the one bellow
| Sample code |
|---|
|
@Component( reference = @Reference(
name = "IEventManager", bind = "bindEventManager", unbind="unbindEventManager",
policy = ReferencePolicy.STATIC, cardinality =ReferenceCardinality.MANDATORY, service = IEventManager.class)
)
public class SampleEventHandle extends AbstractEventHandler{ |
Scaffolding
Instead of starting from scratch, you might want to use the scaffolding tool from https://github.com/saulojg/idempiere-plugin-scaffold/tree/9 instead.

