プラグインの開発、デバッグ、配布、インストール方法
このチュートリアルは Jan Thielemann from evenos GmbH (www.evenos.de)によって提供されています。もし、質問及び改善の提案などありましたら、下記までご連絡下さい。
※翻訳は萩原秀明 (利用者:Hideaki_Hagiwara)が行っています(翻訳中)。
このチュートリアルの目的
このチュートリアルの目的は、プラグインの開発が開始できる状態になる事です。Eclipseにプラグインプロジェクトを作成した後で、あなたは「どのようにプラグインを開発したら良いのだろう?」と途方に暮れるでしょう。Either you want to create a ModelValidator, a Callout, a Process or a Report, you often need to set the fully qualified class name in iDempiere so it can load your custom class. If you develop customizations you should place your custom classes in a new plug-in so you also can get the newest changes from the trunk without struggling with merging conflicts. I will show you a way you can do this.
前提知識
プラグインを開発する前に次のページを確認して下さい。
プラグインの開発
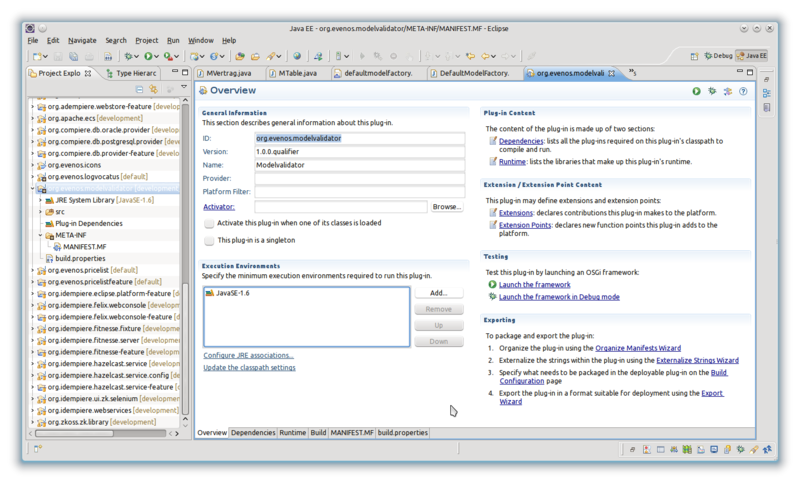
Eclipseにプラグインプロジェクトを作成した後で、マニフェストエディタでMANIFEST.MFファイルを開いてください。
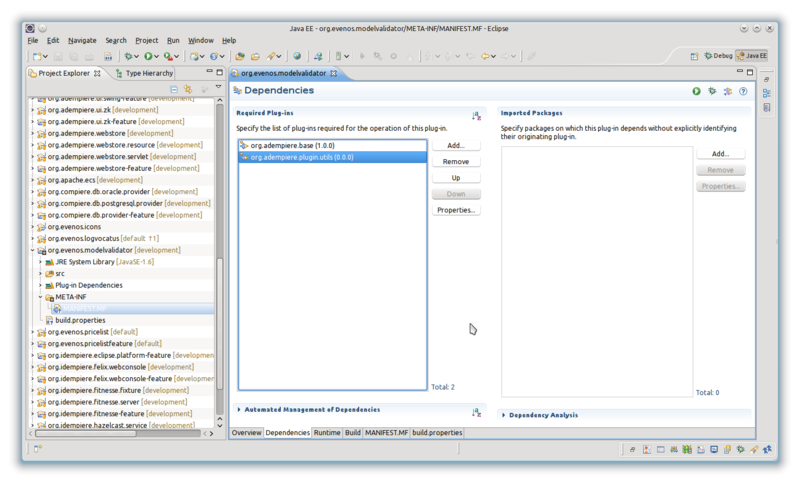
はじめにすべきことは、すべての依存関係(dependencies)を定義する事です。依存(Dependencies)タブを開いて、依存関係を設定します. プラグイン開発の場合、次のプロジェクトを追加します。
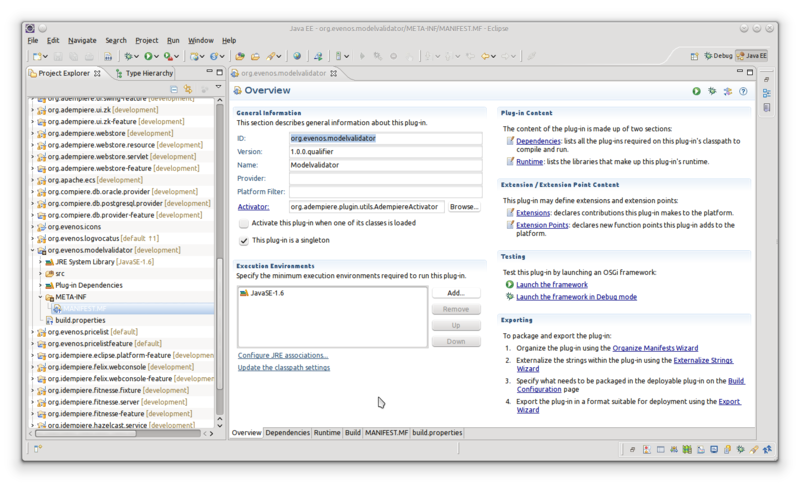
概要(Overview)タブに戻ります。"This plug-in is a singleton"フラグをONし保存します。そして、AdempiereActivator をアクティベーター(activator)として選択します。プラグインではMETA-INFフォルダ配下の2Pack.zip定義を使用する事があるため、AdempiereActivatorを使用します。 AdempiereActivatorクラスを使用する事で、自動でパックインしてくれます。
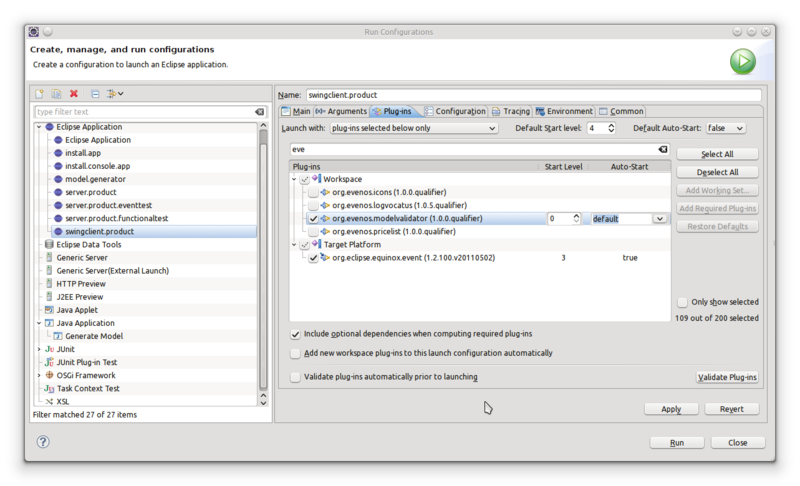
Basically thats all you need to do in the manifest. Now go to the run configurations, select the swing client or the server and go to the Plug-ins tab. Here you search your plug-in and make it active:
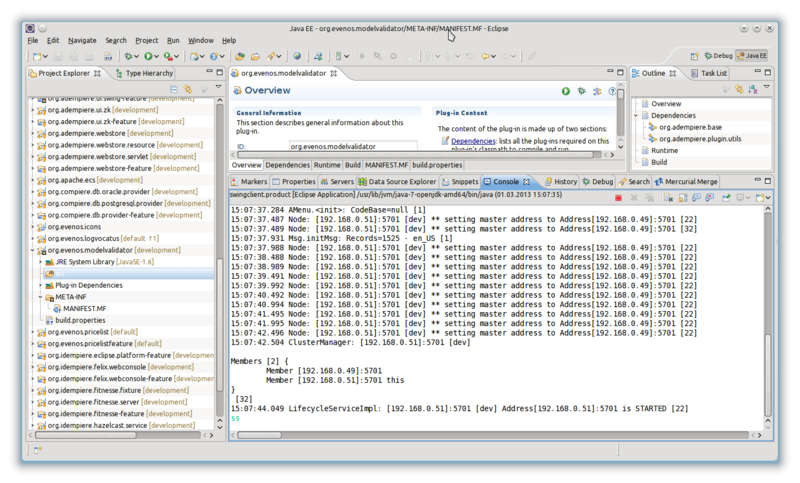
Now you can run the swing client / server. Before you login into the client, click in the console window, type in "ss" and hit return:
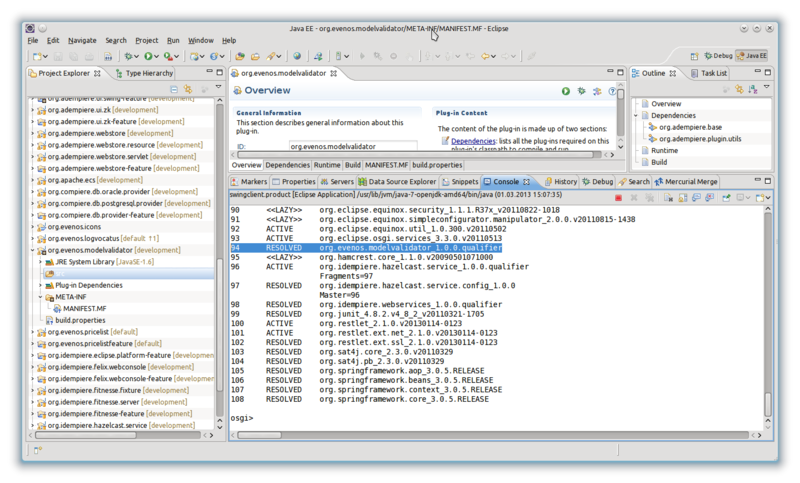
You will get a list of all available plug-ins. Find your plug-in in the list and remember the number:
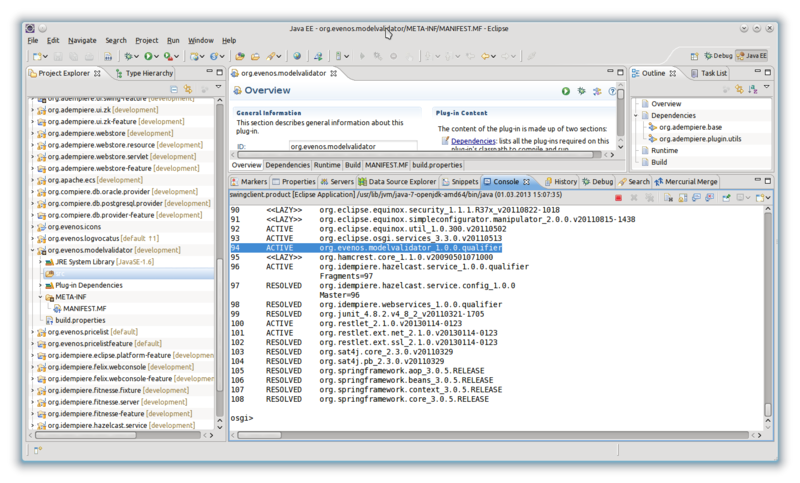
Now type in "start 94" or whatever your number is, to start your plug-in. After you see the osgi prompt again, your plug-in started. You can check again by typing in "ss" again and see if your plug-in is now active:
Thats is, your plug-in is now available. Take a look at our other plug-in development tutorials to see which additional steps are necessary if you want to use ModelValidators, Processes, Callouts or other classes from your plug-in. If you want to start your plug-in automatically take a look the the run configurations and set its Autostart to true. You can also check the "Activate this plug-in when one of its classes is loaded" checkbox in the MANIFEST.MF.
Distribution of plugins
Server / WebUI
Before you can install your plug-in, you have to export it from your workspace. To do so, take a look at Developing Plug-Ins - Create a Feature Project.
Apache Felix Web Console
Open your browser and visit the following url. Replace localhost:8080 with your server name and port.
http://localhost:8080/osgi/system/console/bundles
The login is SuperUser and the password you have set for the SuperUser.
Click on the install/update button. The jar from the plugins folder of your p2 repository and upload it. Configure your starting behaviour and click install/update. Refresh the page and search your plug-in. It should have the state active. If not, try to start it with the "play" button.
Install via p2 repository
You can also install an exported feature directly from its p2 repository. To do so, go to your servers idempiere home directory. Use the following command to install a feature:
java -Dosgi.noShutdown=false -Dosgi.compatibility.bootdelegation=true -Dosgi.install.area=director -jar plugins/org.eclipse.osgi_3.7.*.jar
-application org.eclipse.equinox.p2.director -consoleLog -profileProperties org.eclipse.update.install.features=true
-destination file:/path/to/idempiere-server -repository file:/path/to/feature/p2 -i org.domain.featurename.feature.group
To uninstall a feature, use:
java -Dosgi.noShutdown=false -Dosgi.compatibility.bootdelegation=true -Dosgi.install.area=director -jar plugins/org.eclipse.osgi_3.7.*.jar
-application org.eclipse.equinox.p2.director -consoleLog -profileProperties org.eclipse.update.install.features=true
-destination file:/path/to/idempiere-server -repository file:/path/to/feature/p2 -u org.domain.featurename.feature.group
Notice that the commands above has to be written in one line so if you want to copy it, paste it in an editor first and remove the line breaks. The destination and repository paths can also be URLs. The name of the feature is the ID of your feature in your feature.xml followed by ".feature.group"
Add plug-ins during compilation
See Swing-Client.
Swing Client
Add plug-ins during compilation
The Swing Client is currently built using a Buckminster Action. If you want your own plug-ins to be compiled into the client you have to do the following:
- Open the org.adempiere.ui.swing-feature project
- Open the feature.xml
- Switch to the Plug-ins tab and add your plug-ins, save
- Open the swingclient.product and switch to the Configuration tab
- Add your plug-ins and configure their start level and auto-start behaviour, save
Now right click the org.adempiere.ui.swing-feature project. Select Buckminster > invoke action. Select a properties file with your targeted operating system and select the create.product.zip or create.product action. Eclipse will now create a client with your own plug-ins
Add plug-ins to existing clients
You have to compile and export your plugins from Eclipse by
- Right click on the plugin(s) in Project Explorer
- Export -> Plug-in Development -> Deployable plug-ins and fragments
- Export to the plugins directory of your client
- Add the plugins to the plugin-configuration.
The configuration is located directly in
adempiere-client\configuration\config.ini
or in a separate bundles file which normally resides in
adempiere-client\configuration\org.eclipse.equinox.simpleconfigurator\bundles.info
Note the format of the bundles.info file
${plugin_name},${plugin_version},${plugin_file},${start_level},${auto_start}

