Wanda POS INTEGRATION
POS INTEGRATION
Wanda POS integration with iDempiere is very useful for businesses with different parts that have to put up with asynchronous communication for data retrieval and synchronization. This asynchronous communication is made possible by the use of a middle server, the ActiveMQ service. As such, this section of the Administrator’s Guide is written with the assumption that you have iDempiere installed and have the ActiveMQ service running properly. Screen shots are taken from the demo done on a windows machine, but if you’re using a different operating system you’ll be just fine.
NB: For more information on using iDempiere (best ERP system in the world), visit ...
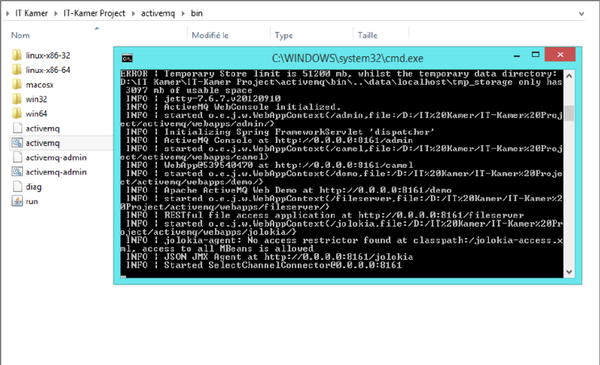
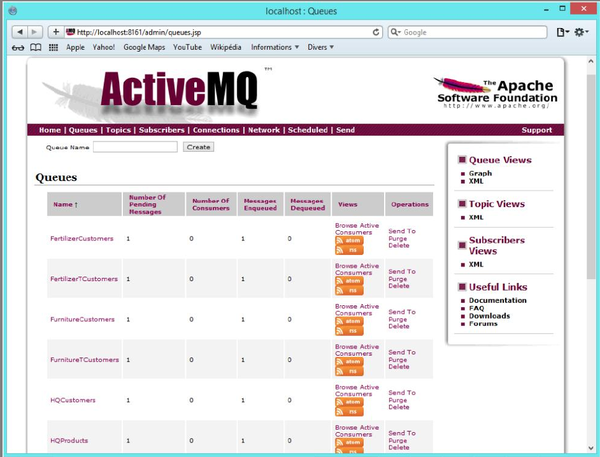
First we have to start up the ActiveMQ middle server.
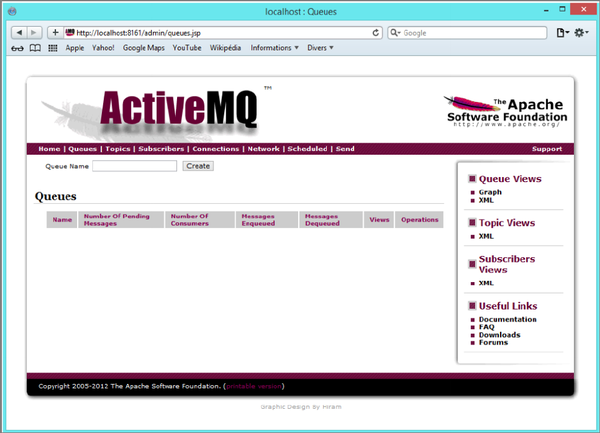
When you first start, as you see, there are no messages sent to ActiveMQ.
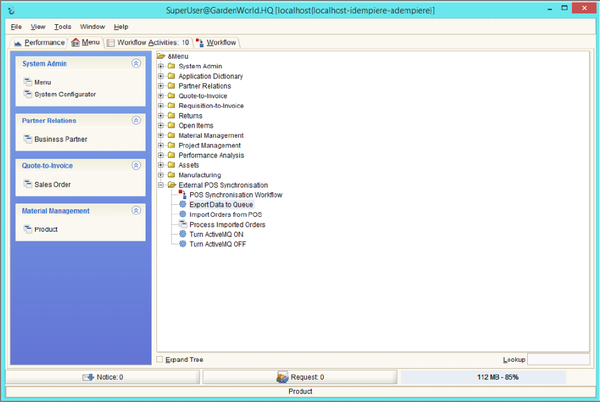
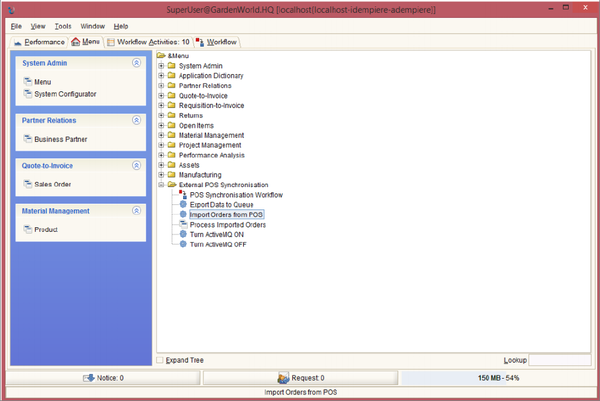
Now we switch to iDempiere where we have the POS Integration plugin installed already. Open up the menu tree “External POS Integration.” It contains all the processes and windows necessary for synchronization with Wanda POS.
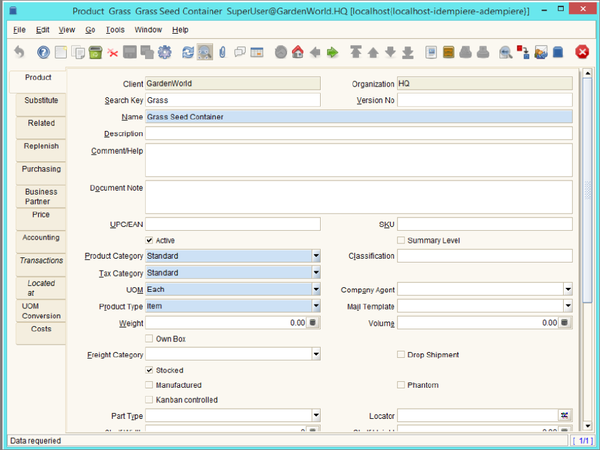
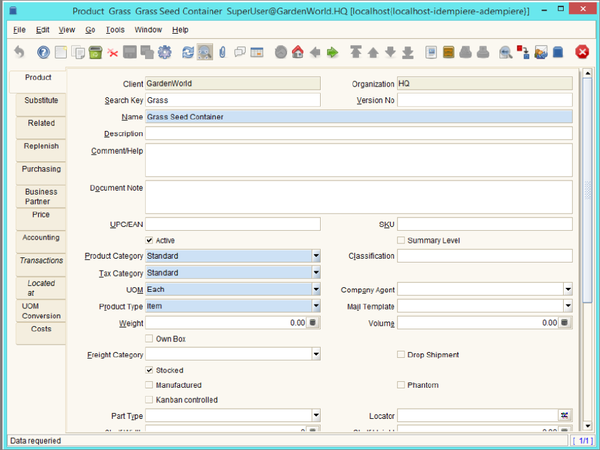
For the purpose of this demo we’ve added a new product on iDempiere ERP, with product info shown below.
- Name: “Grass Seed Container”
- Product Category: “Standard”
- Tax Category: “Standard”
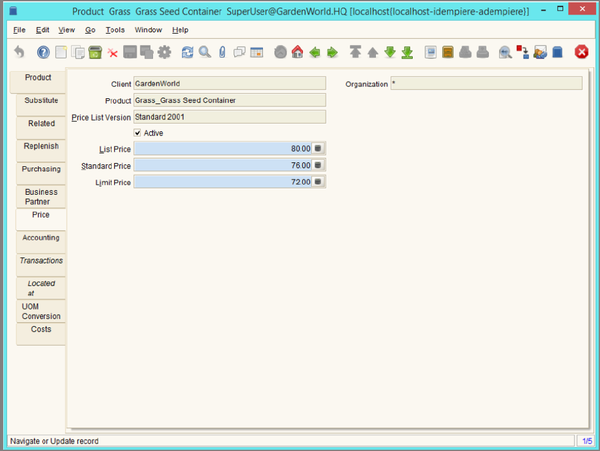
- For this product we’ve also added a price list with info shown below
- List price: “80.00”
- Standard price: “75.00”
- Limit price: “72.00”
Let’s assume we have 12 units of this product in stock at HQ. So we’ll set ‘quantity in hand’ for this product to 12.
NB: The 12 units of this product we have are in the HQ stock. So when we synchronize with Wanda POS, we’ll only be able to do so with the Wanda POS station for which POS Locator Name is “HQ.”
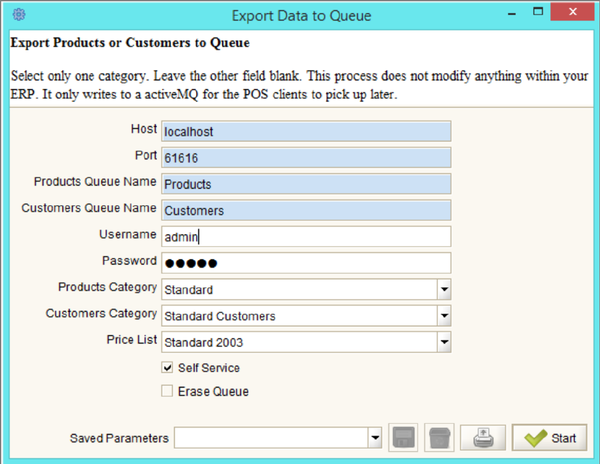
On the ‘External POS Synchronization’ tree, click on the process named “Export Data To Queue.” The window shown below pops up.
We’ll use this to provide the necessary information that will enable us synchronize with the particular Wanda POS station we’re targeting (in our case, “HQ”).
- Host: localhost
- The host to which ActiveMQ is currently listening. We’re doing this demo on our local machine, so we’ve set the host to “localhost.” Your case may be different if you’re not testing on a local machine. (The value must be the same as the value in the file wandapos.properties.)
- Port: 61616
- The port to which the ActiveMQ server listens.
- Products Queue Name: Products
- This is the queue name in ActiveMQ to which the process will send the products during synchronization.
- Customers Queue Name: Products
- This is the queue name in ActiveMQ to which the process will send customers during synchronization.
- Username: admin
- This is the username for the ActiveMQ server.
- Password: *******
- This is the password for the ActiveMQ server.
- Product Category: Standard
- This is the product category for the product we want to synchronize.
- Customer Category: “Standard Customers”
- This is the customer category for the product we want to synchronize.
- Price List: “Standard 2003”
- This is the price list for the product we want to synchronize.
NB: This process exports products per POS Locator Name (Organisation / Station). i.e. if you are exporting 20 products for 5 different Wanda POS stations, they will be exported in 5 different queues (each indicating the number of products exported for that particular station) in ActiveMQ.
When all information is correctly entered, click on start. After synchronization you’ll see a confirmation window similar to the one shown below.
Once you see the window shown above, switch to the ActiveMQ server. You’ll see a new message sent. All products in all stations are sent to ActiveMQ, but only the Wanda POS station you targeted (i.e. pos = HQ) can synchronize products and customers in the queues targetted. In our case, it’s “HQ.”
Note: The key used to identify each Wanda POS station is “POS Name Locator” (pos key in wandapos.properties file)
As such, when you synchronize, you have to be sure of the following
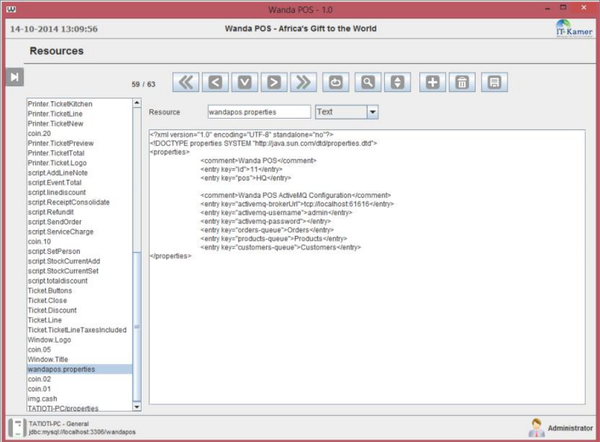
- Customers and Products Queue Names must be the same in both Wanda POS and iDempiere.
- POS Name (<entry key="pos">HQ</entry> in wandapos.properties) must match one organization in iDempiere ERP.
Now it’s time to lunch Wanda POS. When you lunch Wanda POS for the first time, as you can see below, there is only one category: “Category Standard” which has one product.
Click on Maintenance in the Administration panel on the left side of the window, then click on ![]() . Scroll down and select the resource named wandapos.properties. You have to modify this file according to the ActiveMQ server configuration, queue name (Products and Customers) you set when exporting the data from iDempiere.
. Scroll down and select the resource named wandapos.properties. You have to modify this file according to the ActiveMQ server configuration, queue name (Products and Customers) you set when exporting the data from iDempiere.
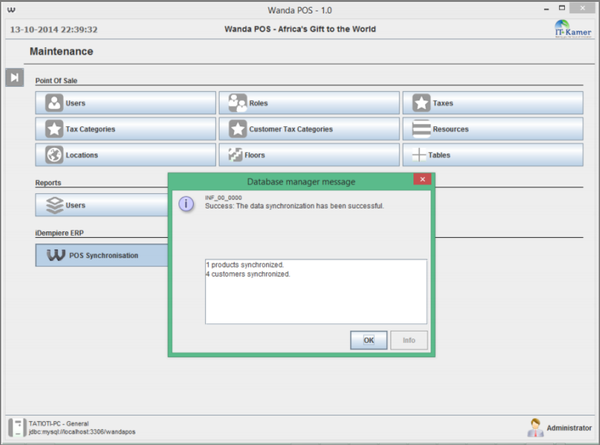
Go back to the Maintenance menu [in the Administration panel on the left side of the window] and click
on ![]() . The database manager responds after a few seconds and we have a pop up window displaying information about the imported data.
. The database manager responds after a few seconds and we have a pop up window displaying information about the imported data.
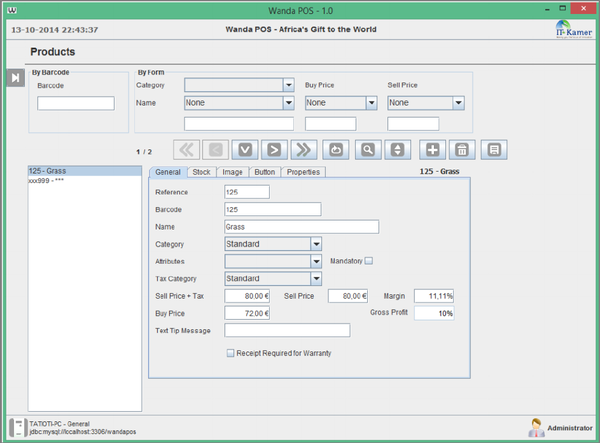
Go back to the Maintenance menu and click on Products. )Remember that initially we had just one category: “Category Standard”, with one product). After synchronization we see extra categories and products which have been imported as a result of the synchronization.
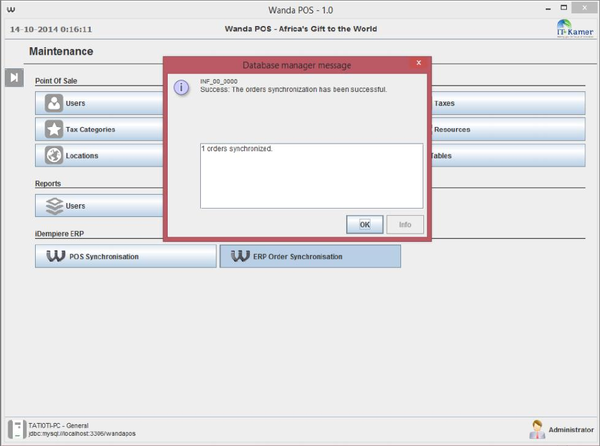
Click on the Sales button on the Main panel. Make an order or a couple of orders (we’ll use this as a demo for synchronizing orders back to iDempiere) as shown in the User’s Guide. Once you’re done making the order(s) click once again on the Maintenance button in the Administration panel on the left side of your window. Then click on ![]() similar to the one below. A few seconds later you’ll get a confirmation.
similar to the one below. A few seconds later you’ll get a confirmation.
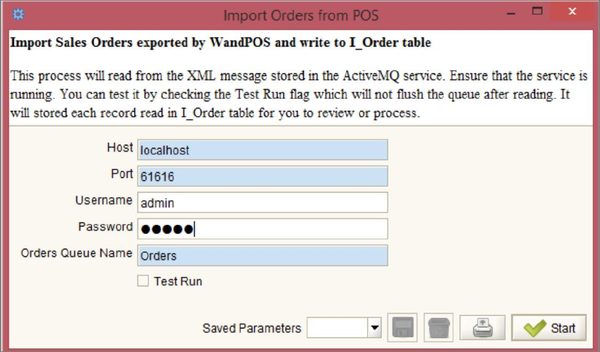
Back in iDempiere ERP, click on the process “Import Orders from POS”. You’ll see a screen like the one below.
Fill in the appropriate information and click on Start.
After a few seconds you should get a confirmation similar to the one in the screen shot below.
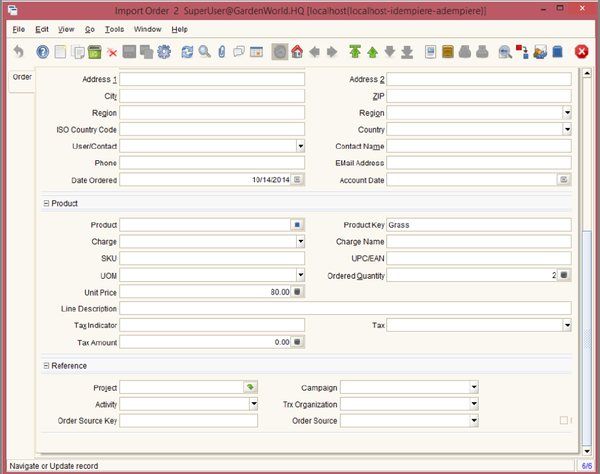
In the External POS Synchronization tree click on the process named “Process Imported Orders.” You’ll see a pop up similar to that shown below. Click on the drop down arrow in the toolbar. Notice that there orders information has changed as a result of the import from Wanda POS.
Special thanks to Redhuan D. Oon for his original idea about integrating aDempiere with OpenBravo POS.

