Plugin: Freibier Android POS
- Maintainer: Diego Ruiz - Thomas Bayen - Carlos Ruiz - BX Service GmbH
- Status: Beta
- License: GPLv2
- Sources: GitHub
- Guide: Manuals and sample data
- APK: Download
Description
The Freibier POS app is intended to help you interact with iDempiere more quickly and efficiently. After installing the app, you will be able to:
- Taking customers' orders
- Create sales orders in iDempiere ERP from your Android device
- See daily reports (Daily cash)
- Print customer's orders in the kitchen or bar
To be able to use it, you need an android device with Android 5.0 or above.
The Freibier POS app was designed for the restaurants industry, therefore some features and workflows are specialized for it. However, it can be adapted and used for other industries easily
Dependencies
You must install first this plugin in order to use the Freibier POS app
Documentation
- Technical Manual: How to install the dependencies on the server and how to contribute
- Server Configuration: How to configure the data in iDempiere
- User Guide: How to run the app and use it
THE MANUALS SHOULD BE READ IN THE ORDER DESCRIBED ABOVE
The file freibierPosDemoClientSetup.zip is a packout that contains sample data to test the app in GardenAdmin, it also has the necessary web service security records to communicate the server with the app.
TL;DR
To test the app quickly in GardenAdmin follow these steps:
- Install the [FCM Notifications plugin] in your server (if you want to use the push notifications functionality, create your own API KEY as described here).
- Login as GardenAdmin in iDempiere and import the freibierPosDemoClientSetup.zip pack in.
- Set up the data in iDempiere.
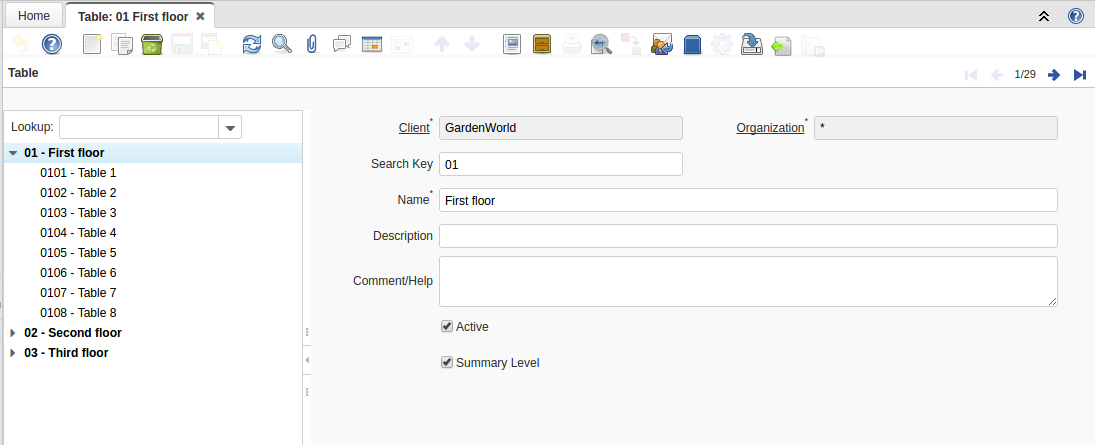
- Create the records in the "Table" window (at least one summary and one child)
- Configure the product categories, products and product price: check the Self-Service flag in the product category and product records, and the Sold flag in the products
- Create a record in "POS Terminal" (only one active record per org). The following fields are mandatory for the POS to work: Sales Representative, Bank Account, Price List, Warehouse, template B. Partner, template To Go B. Partner (it can be the same as the template one) and Document Type.
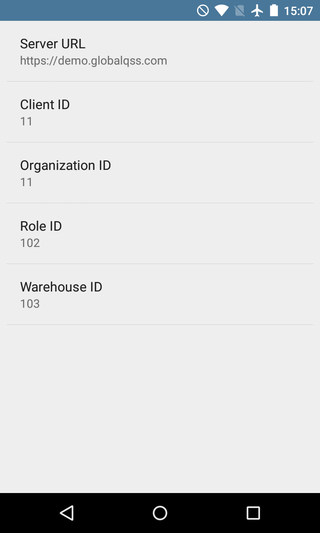
- Open the app in your Android device, open the connection data settings and fill the fields with your server data.
- Go to the initial screen and introduce the username and password. If everything was configured correctly, you are now logged into the Freibier POS.
App Preview
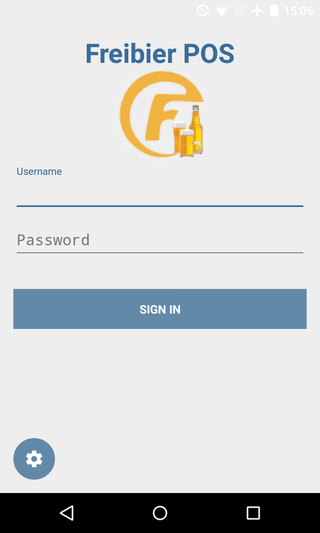
Login
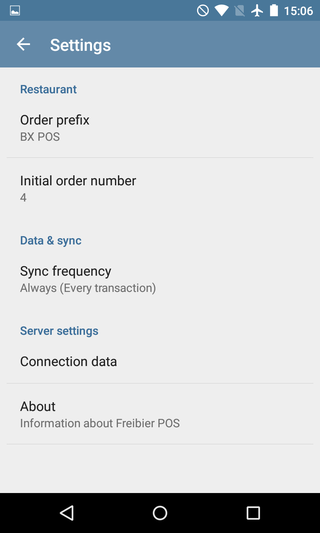
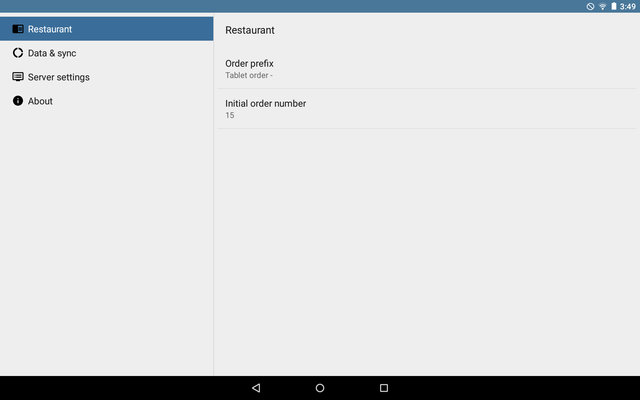
Settings
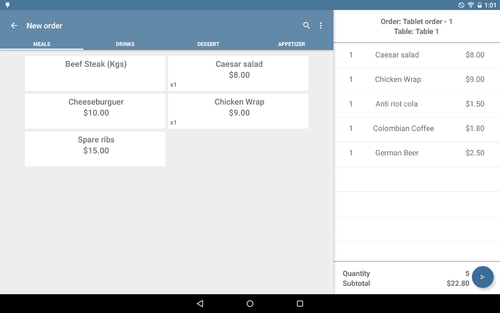
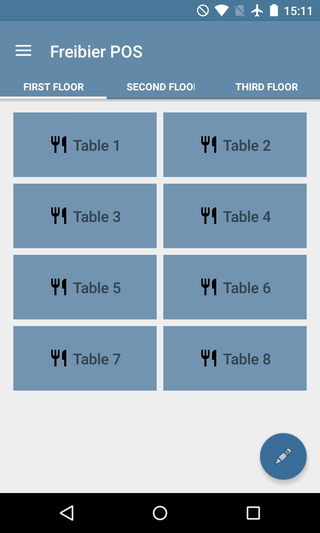
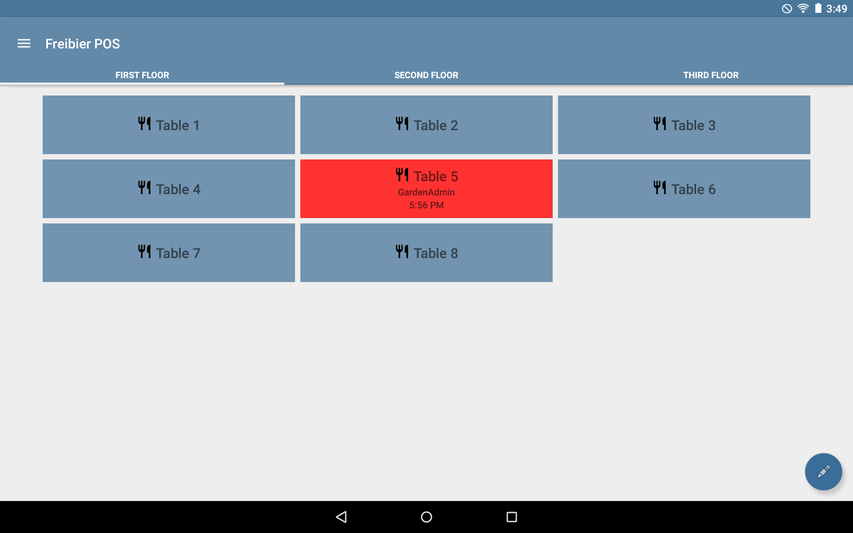
Main Screen
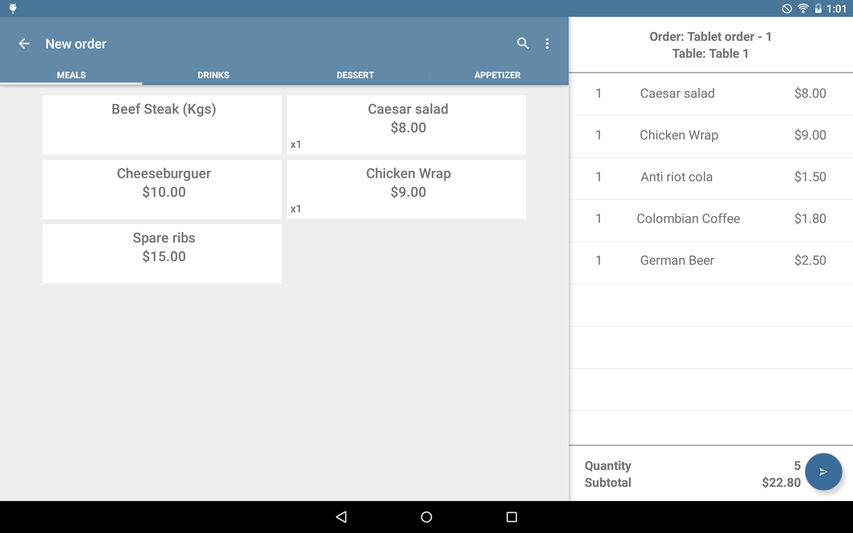
Select Product
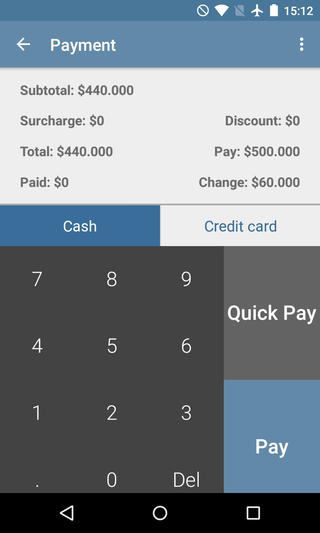
Pay Screen
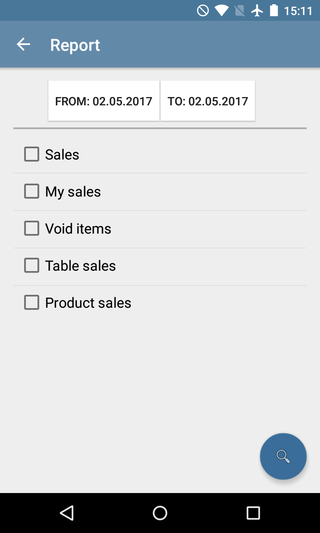
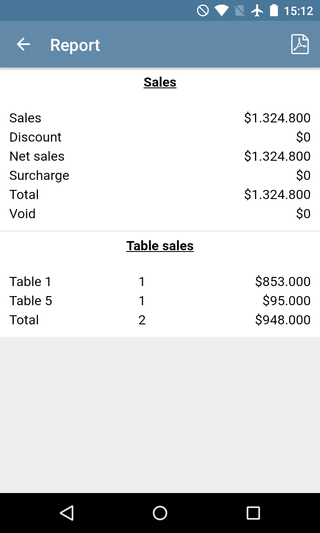
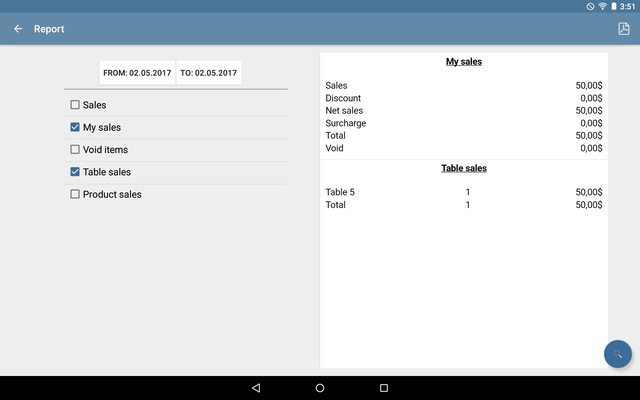
Reports Screen
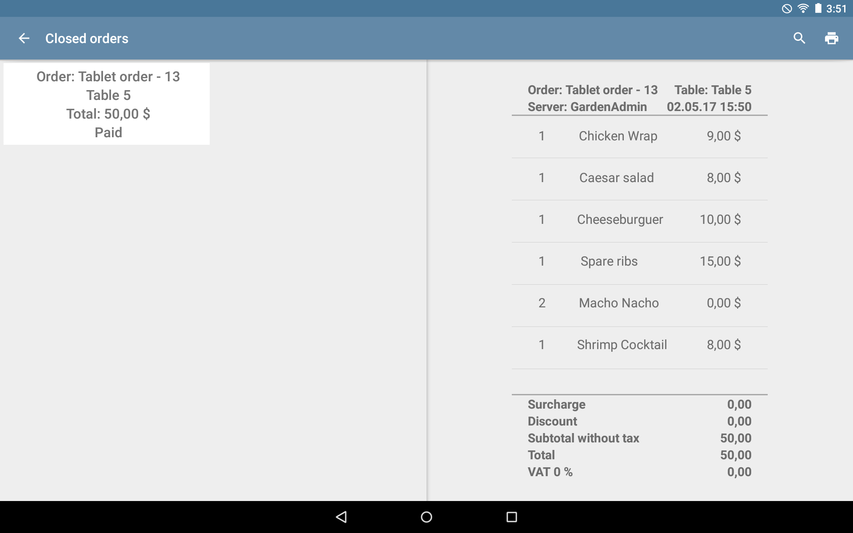
Review Closed Orders
Freibier POS FCM Notification Plugin
- License: GPLv2
- Sources: GitHub
- JAR File: de.bxservice.bxpos.fcm-server_7.1.0.202001121359.jar
Description
This plugin is a server-side plugin required to use the Freibier POS app, the plugin takes care of the following:
- Create the necessary tables and views in iDempiere to support the Android POS.
- Support the functionality to send push notifications from the server to the subscribed devices.
If you want to use the push notification functionalities, you must create a Sysconfig in iDempiere named BXS_POS_APIKEY with the api key of the app (you can get it following these steps)
Configuration
You can find all the necessary documentation here.
To use the Freibier POS app as Garden follow these steps:
- Login as GardenAdmin in iDempiere and import the freibierPosDemoClientSetup.zip pack in, this will create the tree for the Tables window, tender types and the necessary web service security records.
- Go to the Tables window and create the necessary records, a Table represents the physical space that sales. In businesses different to restaurants, it can represent a Cash register. You must create at least one summary record and one child
- Setup the product categories - products and product prices. Product categories that are synchronized with the app are those with the self service flag selected. Products must have the self service and is Sold flag selected. Finally, the Product Price must be defined for the price list selected in the POS Terminal record
- Create a record in "POS Terminal" (only one active record per org). The following fields are mandatory for the POS to work: Sales Representative, Bank Account, Price List, Warehouse, template B. Partner, template To Go B. Partner (it can be the same as the template one) and Document Type.
- Open the app in your Android device, open the connection data settings and fill the fields with your server data.
- Go to the initial screen and introduce the username and password. If everything was configured correctly, you are now logged into the Freibier POS.
How to Install
Felix console
To install the plugin using the felix console you can download the plugin jar directly from here and use the felix console to install as usual.
OSGi telnet console
From OSGi telnet console you can execute:
telnet localhost 12612  # this is the usual way to access the OSGi console on your server
install https://github.com/bxservice/de.bxservice.bxpos.fcm-server/releases/download/release-7.1/de.bxservice.bxpos.fcm-server_7.1.0.202001121359.jar
setbsl 5 de.bxservice.bxpos.fcm-server
disconnect
y

