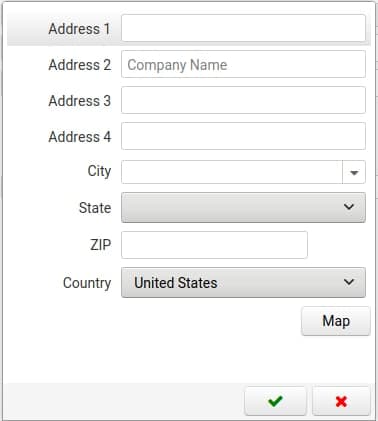
Location Dialog
Configuring the Location Dialog
There are many places in iDempiere where the user interacts with a location dialog, f.i. when filling up an address in the Business Partner > Location Tab, here you can learn how to configure this Location dialog for different countries.
Location Values
This is a list of the possible values to configure in the location dialog:
| Name | Code |
|---|---|
| Address 1 | @A1@ |
| Address 2 | @A2@ |
| Address 3 | @A3@ |
| Address 4 | @A4@ |
| Address 5 | @A5@ |
| Country | @CO@ |
| City | @C@ |
| Region/State | @R@ |
| Postal Code/ZIP | @P@ |
| Additional Postal Code | @A@ |
| Comments | @Com@ |
Configuring the Location Dialog
You can configure each country record to display all or some of the above-mentioned fields, as well as the order in which they will be displayed and if they are mandatory or not.
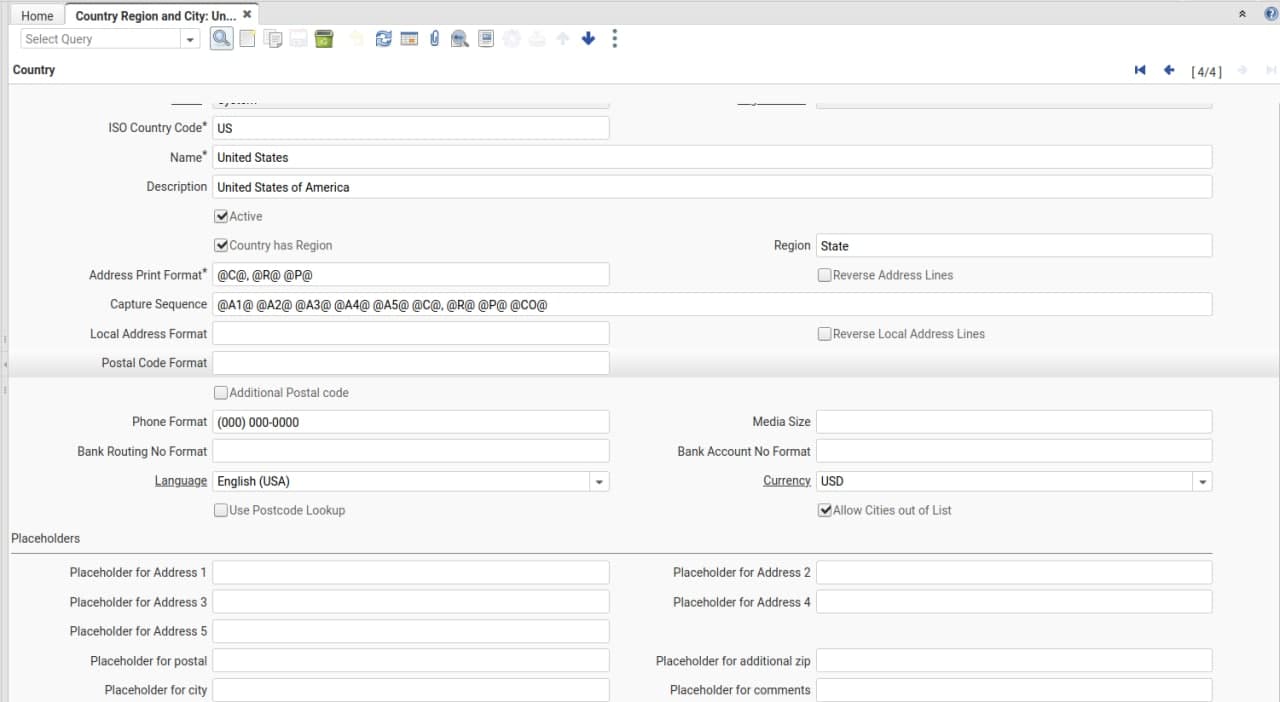
When you are logged in with the System role in iDempiere, open the Country Region and City window and navigate to the record of the country you want to configure, for example, United States.
Capture Sequence
The Capture Sequence field represents the order in which the location values will be displayed in the dialog, to configure it just add the codes shown in the above table in the order you wish them to be shown to the users.
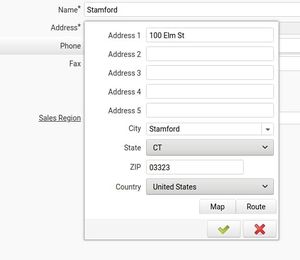
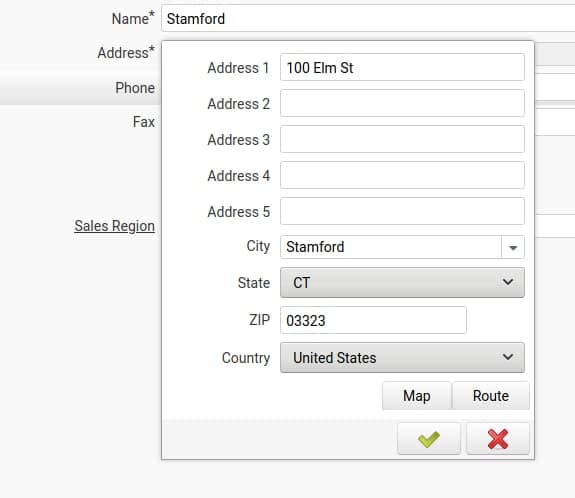
@A1@ @A2@ @A3@ @A4@ @A5@ @C@ @R@ @P@ @CO@ will display the following fields in the following order
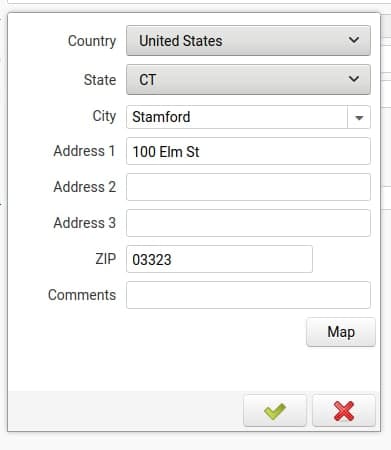
If we want to show the Country, Region, and City first, hide Address 4 and Address 5, and show the comments field you can simply change the Capture sequence to:
@CO@ @R@ @C@ @A1@ @A2@ @A3@ @P@ @Com@
If you want any of the fields to be mandatory, just add a ! after the field code, f.i. @A1!@
Placeholders
If you want, you can show hints or extra text in the fields with the help of Placeholders.

