Feature: Fitnesse How To
Goal: Functional Testing
Sponsor: Trek Global
Description:
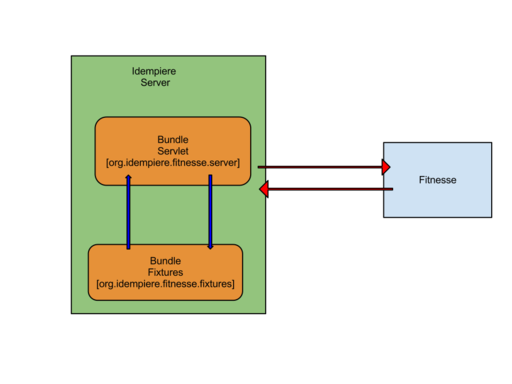
Allow user and developer create and execute fitnesse tests withing the idempiere environment.
Please, be aware that this documentation has changed significantly from earlier versions to iDempiere Vers. 10.
Two different cases can be distinguished:
- Running fitnesse from eclipse
- Running fitnesse on a server from comand line
Running fitnesse from eclipse
- Prerequisiste is an installed development environment.
- Get the "fitnesse" java project which fits to your release into your eclipse workspace. You will find the sources on github. https://github.com/idempiere/idempiere-fitnesse
- following folder structure is necessary for iDempiere Dev and the fitnesse part (github standards must be renamed!):
- idempiere
- idempiere-fitnesse
- org.idempiere.fitnesse.*
- org.idempiere.fitrecorder
- org.idempiere.ui.zk.selenium
- Before importing the Fitnesse-plugin into the iDempiere Workspace you must run “mvn verify” in the idempiere-fitnesse folder !
- To avoid Tycho/Maven problems, remove ~/.m2/repository/.meta/p2-artifacts.properties prior to running maven build for source using Tycho 2.6 and below, i.e. with: rm ~/.m2/repository/.meta/p2-artifacts.properties (rm ~ is helpful cause the file is difficult to find otherwise)
- Import - Existing Projects into Workspace + there tick “Search for nested Projects”
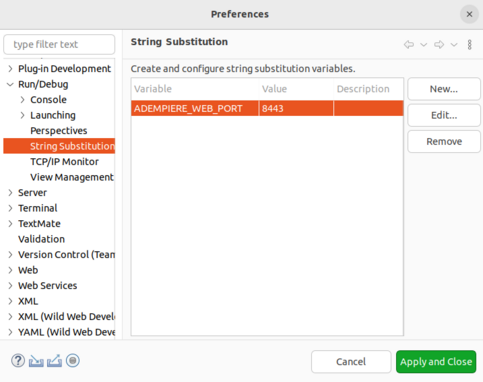
- Set ADEMPIERE_WEB_PORT StringSubstitution to right Port with SSL e.g. 8443 (older versions work with 8080)
- The value is set in Eclipse - Preferences - Run/Debug - String Substitution
- The former port mentioned in older and following screenshots does not work anymore as SSL is mandatory for iDempiere.
- Use 8443 or your selected SSL-Port for iDempiere Access in setup for String Substitution !!!:
Run IDempiere Fitnesse Bundles
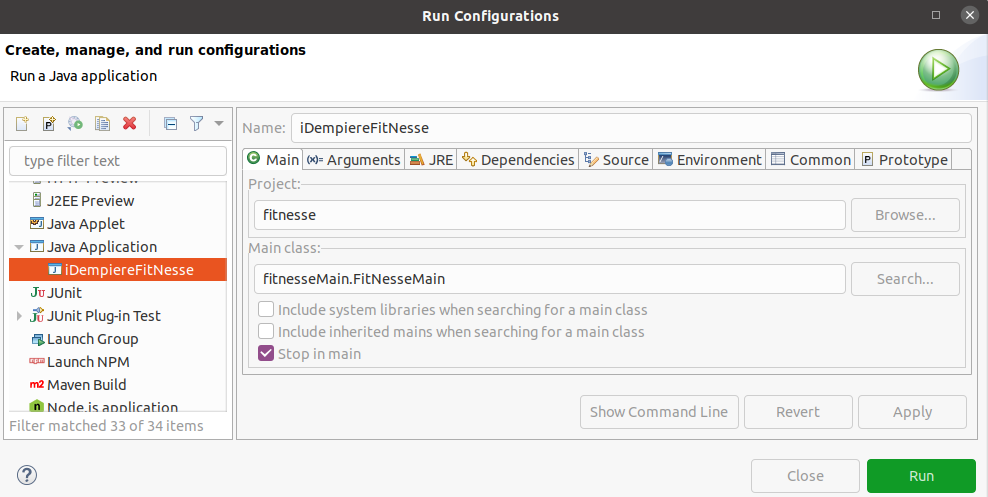
- First you have to define the Fitnesse Application in the Eclipse - Configurations
- Use "Run" for starting the fitnesse component. Debug was required in older versions.
- Verify fitnesse started ok.
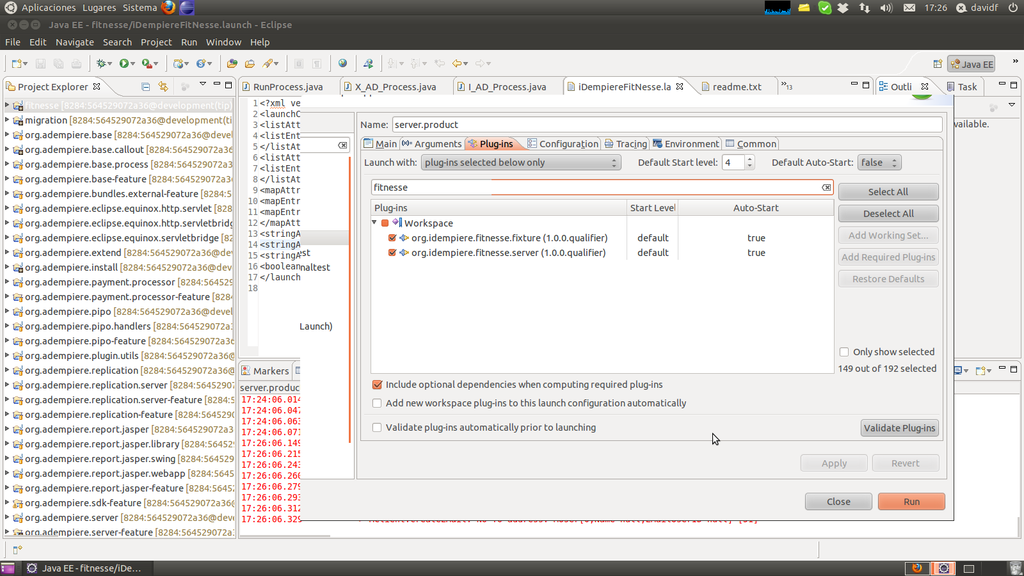
- Please start the bundles at the idempiere server's osgi as shown below in the screenshot:
Run IDempiere Fitnesse Bundles
Congratulations finished! Now you can start using Fitnesse with iDempiere e.g. start some of the TestCases already prepared for Login or a new Business partner.
Some special cases are:
- If your server is running with a self-signed certificate, you must match the certificates in the respective cacert and key.pem. You find some commands to do this on one computer containing both iDempiere and Fitnesse-server below: Installing Fitnesse.HowTo#Allow SSL-Connection for self signed certificates
- Sometimes you must start the fitnesse OSGI-bundles by hand the first time they are used:
- find out the numbers of the OSGI-plugins and then
- start the plugins for fitnesse (those before set to auto start) (compare comands on OSGI console below:)
1. On eclipse console write :
Look for idempiere services, for example:
2. And start the services related:
- After that normally they will start automatically.
Running IDempiere Fitnesse server From Command Line
You can also set up Fitnesse on any server e.g. on a normal test, other iDempiere server or even access iDempiere on another system.
For this you need to do in preparation:
- Build the Fitnesse for server from github
- Ensure you have SSL-connection between the Fitnesse and the iDempiere server (with public certificates this works out of the box. Another option for private keys will be outlined below).
Build Fitnesse from github
- Basic setup also in idempiere and idempiere-fitnesse folders directly on top of user’s home (for links and folders see description on Dev)
- Get the "fitnesse" java project which fits to your release into your eclipse workspace. https://github.com/idempiere/idempiere-fitnesse
- following folder structure is necessary for iDempiere Dev and the fitnesse part (github standards must be renamed!):
- idempiere
- idempiere-fitnesse
- You must run “mvn verify” in both folders
- idempiere
- idempiere-fitnesse
- To avoid Tycho/Maven problems, remember to remove ~/.m2/repository/.meta/p2-artifacts.properties prior to running maven build, i.e. with: rm ~/.m2/repository/.meta/p2-artifacts.properties
- Then the server is changed to a running iDempiere-server in the folder "idempiere" (perhaps other options are easier??)
- command in fitnesse path:
- ant build (ant must be installed before)
- Now move the parameters from the iDempiere-server to the Fitnesse-server
- Copy deploy-fitnesse.sh (from idempiere-fitnesse) to main path of iDempiere-server
- Execute deploy.sh and direct the output to .../org.idempiere.fitnesse.p2/target/repository e.g. ./deploy-fitnesse.sh file:/home/idempiere/idempiere-fitnesse/org.idempiere.fitnesse.p2/target/repository
If your server is running with self-signed certificates, please, you must match the certificates in the respective cacert and key.pem. You find some commands to do this on one computer containing both iDempiere and Fitnesse-server below: Installing Fitnesse.HowTo#Allow SSL-Connection for self signed certificates
Start fitnesse server from command line
- The script run.sh sets the variable ADEMPIERE_WEB_PORT based on a file idempiereEnv.properties located on the folder above fitnesse_home
- In case the properties file is not copied automatically by the deploy.sh, copy it from idempiere-Folder to idempiere-fitnesse-Folder manually
- Anycase make sure that the contents of the file for ADEMPIERE_WEB_PORT-Parameter (from Version 10 with SSL prescribed) is ADEMPIERE_WEB_PORT=8443
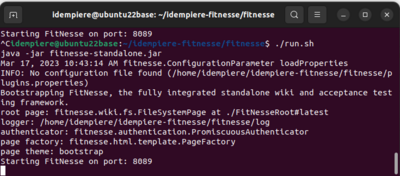
- Open a Terminal and go to Idempiere Fitnesse Location in your Computer (.... idempiere-fitnesse/fitnesse)
- Start Fitnesse executing: ./run.sh
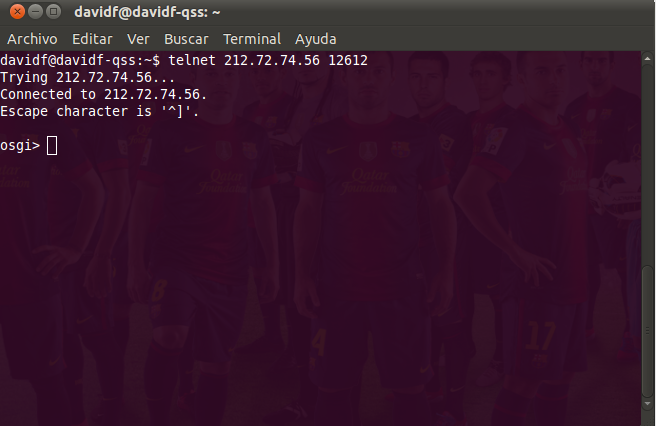
- In the iDempiere-Server you must also start the OSGI-bundles for
- org.idempiere.fitnesse.fixture ... and
- org.idempiere.fitnesse.server (details for a start via telnet you find below)
Running Bundles From Demo Idempiere
- Go to idempiere demo and connect.
- To Install bundles in idempiere demo in the console type this:
install http://jenkins.idempiere.com/job/iDempiereDaily/ws/buckminster.output/org.adempiere.server_2.0.0-eclipse.feature/site.p2/plugins/org.idempiere.fitnesse.fixture_2.0.0.v20140610-0232.jar
install http://jenkins.idempiere.com/job/iDempiereDaily/ws/buckminster.output/org.adempiere.server_2.0.0-eclipse.feature/site.p2/plugins/org.idempiere.fitnesse.server_2.0.0.v20140610-0232.jar
- You must start the services
- Look for idempiere services, for example:
- And start the services related:
Allow SSL-Connection for self signed certificates :
Outline of procedure - there are other options for ssl and cacerts handling experts.
In iDempiere-setup (1st field in Keystore window) computer must be named “localhost” (, otherwise name of computer same as alias)
- Commands to be execuded in folder .../fitnesse-server/fitnesse (Command after bullet, comment next line in brackets):
- rm cacerts (other cacert inherited from the repository in Github)
- cp /etc/ssl/certs/java/cacerts . (Copy of certifikate from computer(iDempiere-web-server) to fitnesse (command incl. ".")
- keytool -list -v -keystore cacerts (for inspection - Standard 'no password' or "changeit" or "your password" !best )
- echo | openssl s_client -connect localhost:8443 2>&1 | sed -ne '/-BEGIN CERTIFICATE-/,/-END CERTIFICATE-/p'> key.pem (Please note: For this your iDempiere server (to be connected to fitnesse) must run)
- keytool -import -alias localhostnew -file key.pem -keystore cacerts (if import is done serval times localhost must change name, e.g. localhostN with N=1,2,... so simply numbering the term)
Edit global setting
You must edit global setting
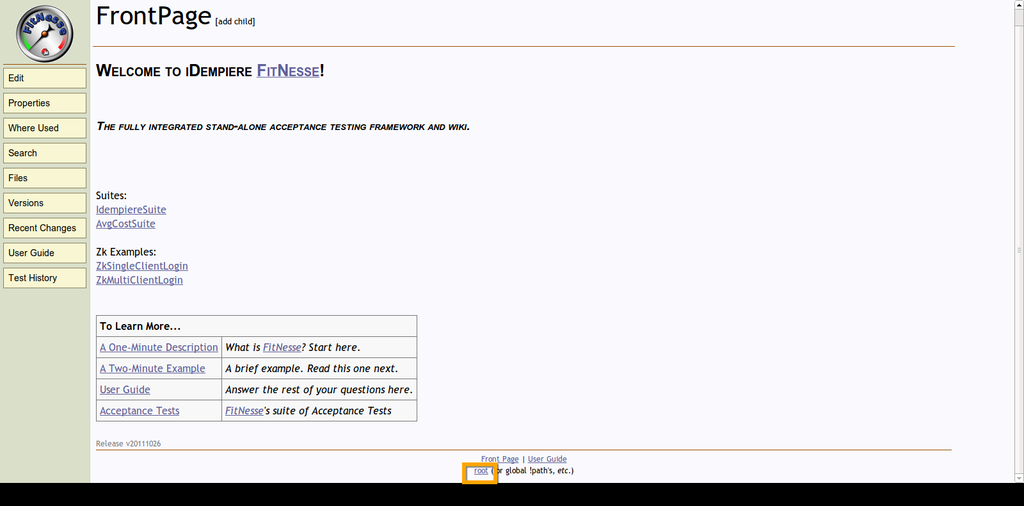
- In your browser type http://localhost:8089/ (With the port you already configure in this case 8089)
- Go to root
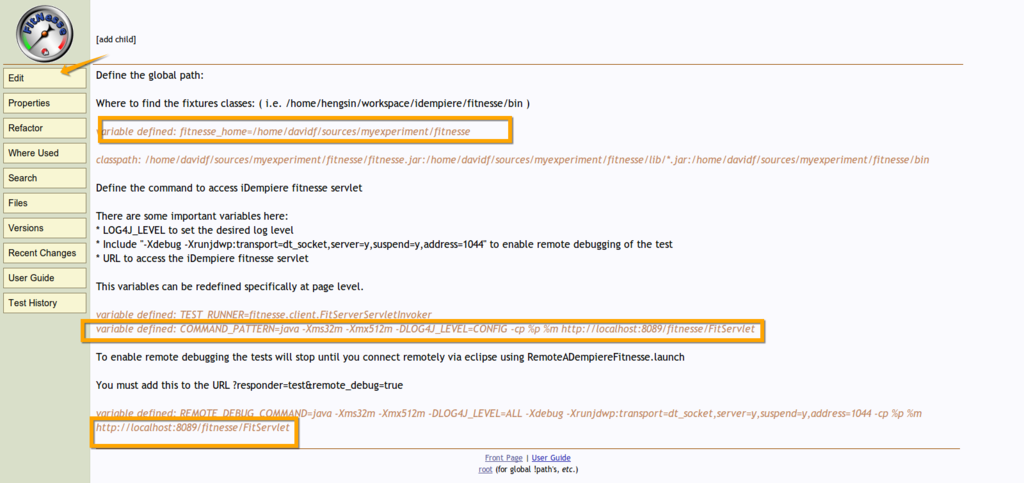
- Write your own workspace location here
- Change for the same Port as you run idempiere in this case 8089
More screenshots
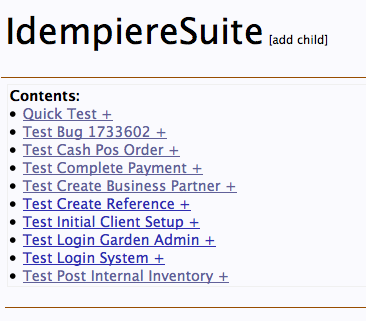
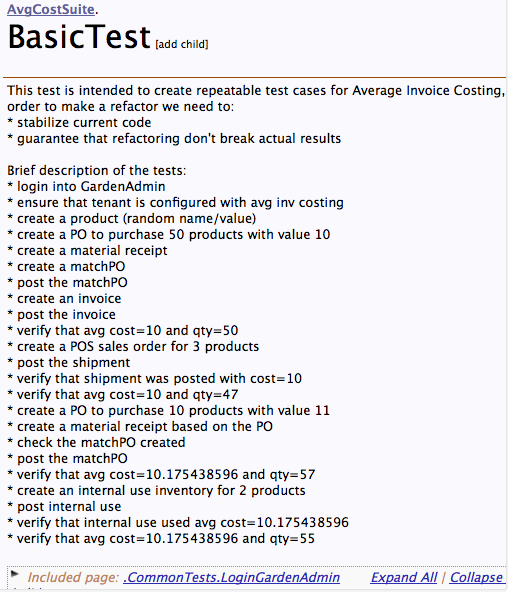
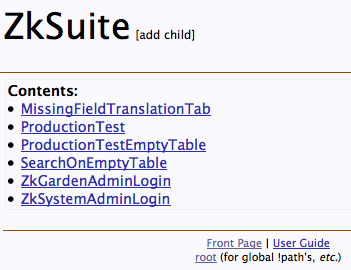
- The following are the screenshots of the tests layout that you can find when you click on the items above.

