Developing Plug-Ins - ModelValidator
This how-to is brought to you by Jan Thielemann from evenos GmbH (www.evenos-consulting.de). If you have questions, criticism or improvement suggestions, feel free to visit me (Jan.thielemann) or write me an email
Goal of this how-to
The goal of this how-to is to show how you would develop a ModelValidator in an own plug-in so you can share your plug-in to others with all necessary information needed to get it running.
Prerequisites
Before you start developing plug-ins, you should take a look at Developing Plug-Ins without affecting trunk and Get your Plug-In started to get a good starting point.
tl;dr
https://www.youtube.com/watch?v=Dwjl8p1Xguw
The workflow
Creating the Model Validator
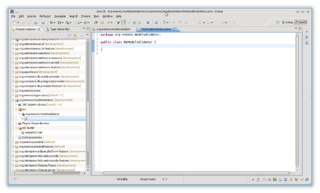
If you followed the prerequisitions of this how-to you should have a running plug-in. Go ahead and create a new package and a new class in this package:
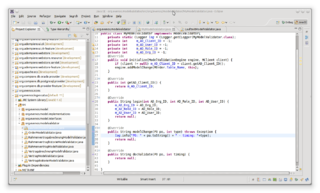
Your class should now implement the ModelValidator interface and all necessary methods. It's a good practice to implement a logger and some instance variables for the client, user, org and role id. In the initialize()-method, set the client id and register for any table you would like to. In our example, we register the model validator for the table C_Order. In getAD_Client_ID(), you can return the client id you stored before and in login() you can store org, role and user id for further use. Since our model validator is just an example, in the modelChange() method we will just log the PO and the type of validation:
Once the validator class is created, you need to tell iDempiere how to find it. This is done one of the following approaches:
Using a ModelValidatorFactory
As described in other plug-in development how-to, using the OSGi factory approach is very simple. First, you create a new class which implements the IModelValidatorFactory interface and it's method. In the newModelValidatorInstance(classname) method, add an if-statement where you check if the provided class name fits your model validator. If it does, return a new instance of your model validator. If not, return null.
The next step is to create a component definition with a unique name and the path to your class. You can do it via annotations following this guide.
If you prefer to do it manually, don't forget to add a property called "service.ranking" which is a integer property. Give it a value of 100 or so to make sure it is loaded before the default model validator factory form idempiere. On the service tab of the component definition, add the IModelValidatorFactory interface to the provided services. Make sure that your component definition is added to your plug-ins manifest.mf. There should be an entry like "Service-Component: mycomponent.xml".
Using an extension
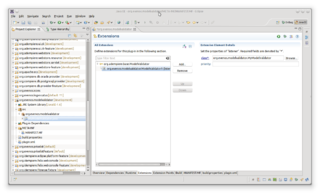
Save your validator and go back to the manifest. In the Overview tab, click on the Extensions link so that the Extensions tab gets visible. In the Extensions tab, click on add and add a org.adempiere.base.ModelValidator. Right-Click it and select "New>listener". Select the listener, click on Browse and select your model validator class:
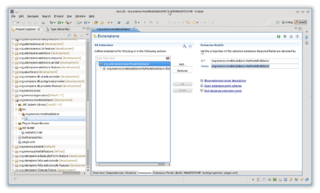
Copy the full class name and select the org.adempiere.base.ModelValidator extension point. Paste the class name in the ID and Name field and save your manifest:
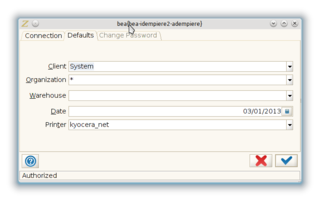
Start your preferred client and login as SuperUser with the role System:
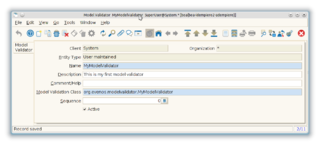
Open the Model Validator window and add a new entry:
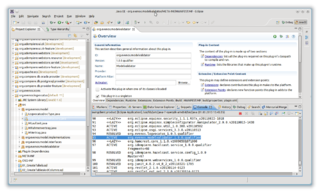
Shut down the client and restart it. Before you log in, make sure your plug-in is started:
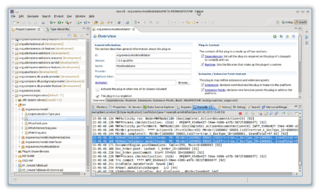
Login as SuperUser with Garden World role, open the Sales Order window and prepare/complete/void/reactivate/cancel one of the orders. In your log you should now see the result:

