Developing Plug-Ins - Callout
This tutorial is brought to you by Jan Thielemann from evenos GmbH (www.evenos-consulting.de). If you have questions, criticism or improvement suggestions, feel free to visit me (Jan.thielemann) or write me an email
Goal of this tutorial
The goal of this turorial is to show you how you can develop callouts in your own plug-in. There are different ways of implementing callouts and get them running. You will learn the following ways:
- Create a Callout using the IColumnCallout interface and extension points
- Create a Callout using plain java and the Application Dictionary
- Create a Callout using the IColumnCalloutFactory and a component definition
The third way is the recommended way.
Prerequisites
Before you start developing plug-ins, you should take a look at Developing Plug-Ins without affecting trunk and Get your Plug-In started to get a good starting point.
Video
https://www.youtube.com/watch?v=twC6Dy8R5g4
The workflow
Since iDempiere 9: With Bundle Activator or Annotation
NF9_OSGi_New_Column_Callout_Factory
Using a CalloutFactory
Before iDempiere 9, this approach should be the preferred one. Create two classes. One for the Factory and one for the actual callout. We name it CalloutFactory and CalloutFromFactory. Copy the code from the IColumnCalloutcallout to the CalloutFromFactory or take a look above. It implements the IColumnCallout interface and has just some logging in its start() method.
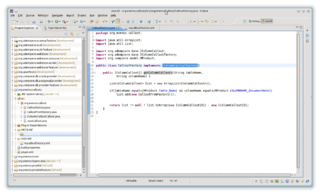
Now to the interesting part. Let you CalloutFactory implement the IColumnCalloutFactory interface and the necessary getColumnCallouts() method. Here you check yourself for the columnname/tablename and decide if and which callout you want to provide. Lets check for MProduct.Table_Name and MProduct.COLUMNNAME_DocumentNote:
The next step is to add the component definition. We recommend that you do it automatically by adding' an annotations to the CalloutFactory class you just created. Read more about it here'
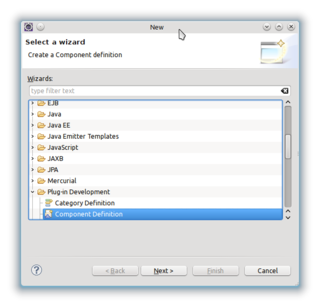
If you prefer to do it manually. Click on File>New>Others and select Component Definition from the list:
You should create a new directory named OSGI-INF in your project root. This is by OSGi conventions the place for component definitions (see this article on EclipseZone or this (german) blog entry for more info). All your definitions should go there as *.xml files.
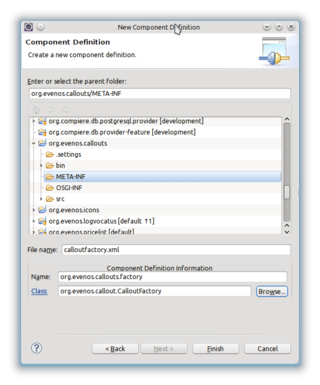
Click on next and chose a name of your choice. Make sure the name is unique. Also click on browse and select your CalloutFactory class:
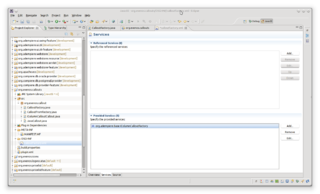
Open the component.xml (in our case calloutfactory.xml) and switch to the service tab. Add org.adempiere.base.IColumnCalloutFactory to the Provides Services section:
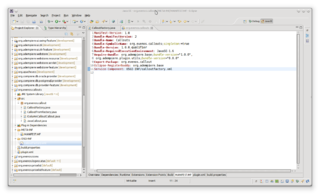
Check the MANIFEST.MF tab of your manifest file and look for the line which starts with "Service-Component: ..." and make sure the correct path to you xml is inserted here:
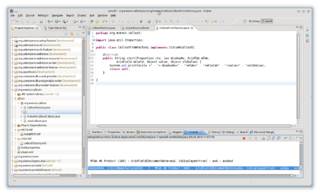
Start the client and log in as GardenAdmin/GardenWorld. Open the Product window and enter or change something in the Document Note field. Leave the field and check your console log. You should see something like this:
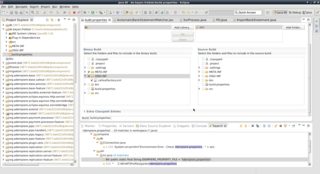
Before exporting a bundle jar file you have to be sure that your component definition xml in OSGI-INF file is exported into the jar file. Open the build.properties file and look whether all your definitions are checked in the "Binary Build" list.
Outdated approaches
The methods mentioned below are outdated and not recommended. They are explained for backward compatibility.
Using an extension
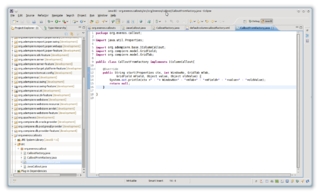
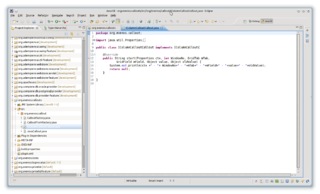
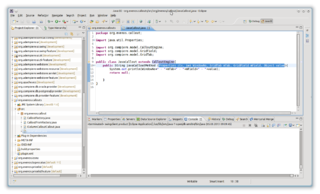
Developing a Callout using an extension is one of the easier ways but it is a little bit outdated. Also it may be depricated in a future version of iDempiere so it's always a good idea to use the factory/component appraoch if possible. First create your plug-in following the prerequisites of this tutorial. After you are ready, create a new package and a class. We call our class IColumnCalloutCallout in this case. Implement the IColumnCallout interface and add some logging to the start() method:
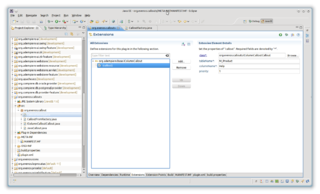
Open your MANIFEST.MF and go to the extension tab. Add a org.adempiere.base.IColumnCallout extension. Right click it and add a new callout. Click the browse button and select the previously created class. As the tableName we chose "M_Product" and the columnName "Help". As priority we chose 1:
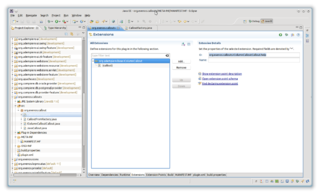
Copy the full class name and switch back to the org.adempiere.base.IColumnCallout. Paste it and add ".help" so you can better differ between different callouts if they are in the same class.
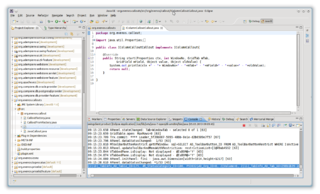
Basically thats it. Start a client and open the Product window. Enter or change something in the help field and leave the field. Take a look at your console log:
You can use one class for different Columns/Tables. If you want to do this, just add another extension but with different tableName/columnName. In your Callout classes start() method, check for the mTab.getTableName() and the mField.getColumnName() to decide which custom callout method you want to call. CalloutInfoWindow.java is a good reference to see how it can be done.
Using Java
This approach is also a little bit outdated and it's more uncomfortable than the other approaches but for the sake of completeness i will show it to you. (This is the old Compiere/ADempiere way of doing it without OSGi. Its only advantage is that it is configurable in the database.)
First create another class and call it JavaCallout. inherit from CalloutEngine and create a new method which follows this structure:
- public String myMethodName(Properties ctx, int WindowNo, GridTab mTab, GridField mField, Object value)
Add some logging and return null at the end. If the return statement is not null, the CalloutEngine will handle it as an error:
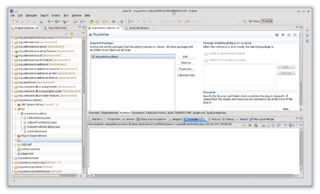
Open your MANIFEST.MF and switch to the Runtime tab. Add the package where your JavaCallout class is located:
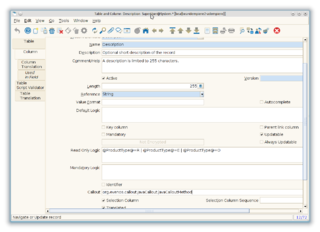
There is now a problem. Since we don't use a extension or a component, how should the CalloutEngine locate our class? To do this, switch to the MANIFEST.MF tab and add this line: "Eclipse-Registerbuddy: org.adempiere.base" (see OSGi#Fragments). Please notice that this is all other than best practice! Save the manifest and start a client. Log in as SuperUser/System and open the Table and Column window. Find the M_Product table and switch to the Column tab. Find the Description column and enter your full qualified class name folowed by a dot and the name of your method in the Callout field:
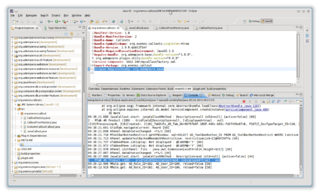
Restart the client and make sure your plug-in is activated. Log in as GardenAdmin/GardenWorld and open the Product window. Enter or change something in the description field and leave the field. Take a look at your console log, you should see something like this:

