
Application Dictionary - Create a Custom Table and Window
Introduction
This tutorial is brought to you by Andreas Sumerauer. If you have any questions, criticism or suggestions for improvement, feel free to join the discussion in the iDempiere google group.
Goal of this tutorial
This tutorial will enable you to create your own custom Data Tables that are fully integrated within the iDempiere application framework. You will be able to do that without writing a single line of SQL or Java code. Instead you will be introduced to the iDempiere Application Dictionary that provides the tools for the creation of wide ranging customizations and extensions to the iDempiere application.
Example Specification
Let's say we want iDempiere to tell us in which office room each employee's workspace is. In the course of this tutorial we are going to lay the groundwork for this example specification by adding a new table to hold our office room data and a window to manage the data stored within that table.
Prerequisites
To get the most out of this tutorial it is highly recommended that before you start you have made yourself familiar with the iDempiere user interface.
Some basic understanding of the concept of the iDempiere application dictionary will be helpful but is not strictly required.
You can greatly improve your learning experience through actively reproducing the Steps. For that you will need to have System administrator access to a sandbox iDempiere installation.
Steps
Add Database Elements

Create a new Table Definition
We will start by adding the Office Room table to our data base. Log in as the SuperUser. Then open the Table & Column window and add a new table. Now fill in the following fields:
- DB Table Name: SB_OfficeRoom
- Name: Office Room
- Data Access Level: Client + Organization
- Save the new record.


Generate Mandatory Columns
We will now add a number of columns to the new table. A table that has a window is required to have a number of mandatory columns that are used by iDemiere for house keeping purposes. These columns can be generated very easily by copying the table schema from another existing table that meets those requirements:
- Click the process button (gear icon) in the tool bar.
- Select Copy Columns from Table. A good candidate to be used as a template would be C_Subscription_Delivery.
Enter that name into the dialog that pops up and hit OK. The newly generated columns will appear in the Column sub tab right under the main edit area. - We are going to need all of these columns except for C_Subscription_ID.
To remove it tick the checkbox at the left side of the column's row and hit the Delete Record button ('-' icon).
Add Custom Columns to the Table
Now add the RoomNo column:
- Click the Create New Button ('+' icon) in the Column tab tool bar. The Table > Column window is opened with the new record loaded.
- Rightclick the Entity Type field and select new from the context menu.
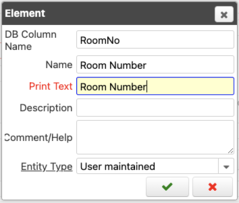
- Fill in the required fields in the QuickEntry dialog then hit OK:
- DB Column Name: RoomNo
- Name: Room Number
- Print Text: Room Number
- Back in the Column window fill in these fiels then save the new record:
- Reference: String
- Length: 30

Obviously it does not make sense to have a room without a number. So let's make the Room Number field mandatory:
- Tick the Mandatory checkbox. A new Office Room record can now only be saved when the Room Number field is not empty.
Repeat the above steps to create two more new columns: FloorNo (Floor Number) and BuildingWing (Building Wing).
Leave the Mandatory checkbox unticked for these two columns.

Generate the Table within the Database
The new table and its columns are now defined as part of the iDempiere application dictionary. To create all of them in the database hit the Synchronize Column button in the Table > Column window. Note that this button works a bit differently for a table that already exists in the database. It will then only create or update the currently edited column.
Add a Unique Constraint
Since our customization only manages a single building we can safely assume that room numbers will be unique. To avoid user errors we are going to create a UNIQUE constraint on that column. We have to make sure that different tenants can still have rooms with the same number. Because of that the constraint has to include the AD_Client_ID column as well.
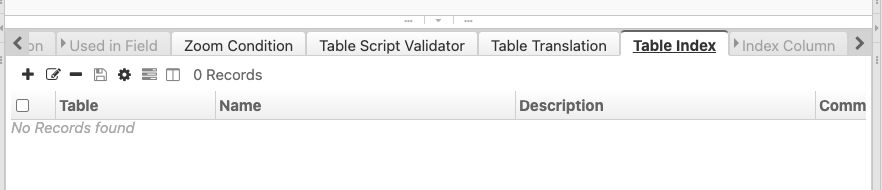
- In the subtab bar click the Table Index tab and then the Create New button of that tab.
- Enter Unique_RoomNo_per_Tenant into the Name field of the Table > Table Index window that has just opened.
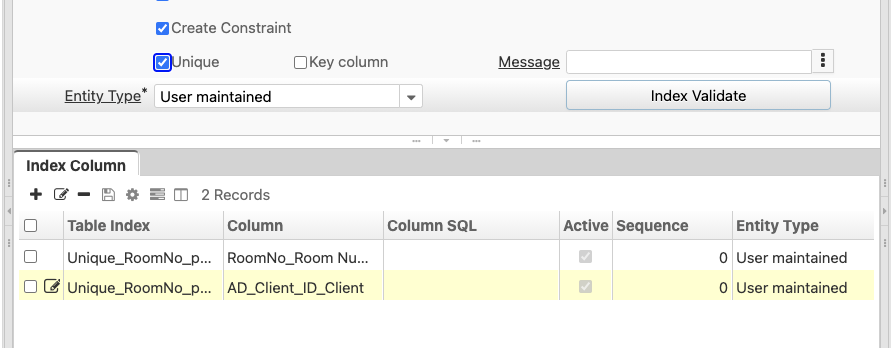
- Tick both the Create Constraint and the Unique checkboxes.
- Save the new record.
- Now we need to add the index columns. Hit the Create New button of the Index Column subtab.

- The edit view will switch to Table > Table Index > Index Column. Here enter RoomNo into the Column field.
- Save the new record and create another one for the AD_Client_ID column.
- Now switch back to the Table > Table Index view and click the Index Validate button. This will generate the constraint within the database.


Add the User Interface Elements
Generate Window, Tab and Fields as well as a Menu Entry for the new Table

We now go back to the Table window. Rightclick Table in the breadcrumb row or hit ALT+Arrow Up on the keyboard.
Click the Process button in the tool bar and select Create Window, Tab and Field from Table from the context menu.
In the dialog that appears tick the Create Menu checkbox and hit OK.

After the successfull completion of the process a confirmation dialog will pop up. In that dialog click on Tab: Office Room. This will open a new Window > Tab window.

Improve the Tab Layout
The new Tab's layout has been generated using some default settings. Let's see if we can improve it a bit.
- hit the Process button in the toolbar of the new window and select Tab Editor.

- This opens the Tab Editor dialog.
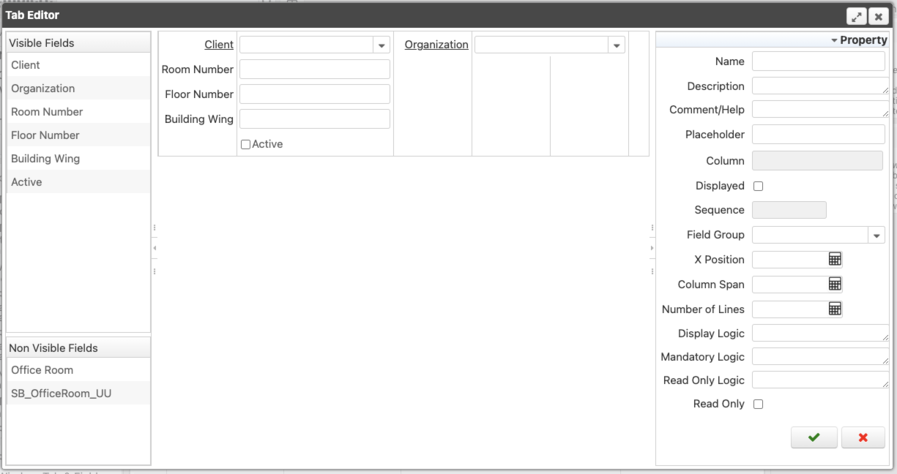


The Tab editor is a very powerful tool that can't be fully covered in the course of this tutorial. We will now just reposition some of the layout elemnts.
Rightclick and hold the label of the Building Wing field then move the mouse to the right of the Room Number field and release the mouse button. You have just dragged and dropped the Building Wing field to a new position.
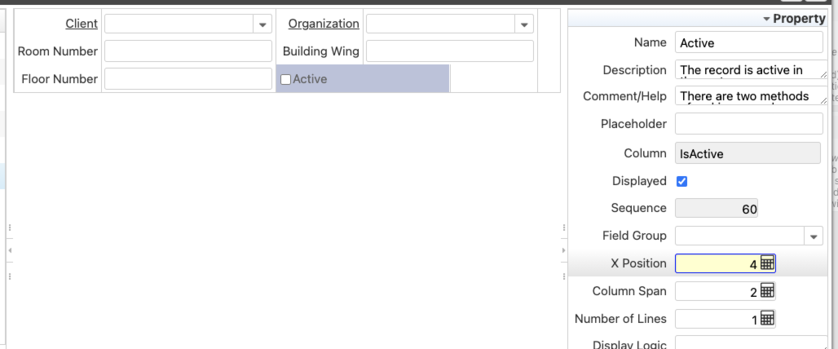
- Now drag and drop the Active checkbox to the right of the Floor Number field.
- We want the checkbox to be vertically aligned with the editor fields in the layout column. If you find that the checkbox has landed too close to the Floor Number field change the X-Position value in the Property sidebar to the right from 4 to 5 and hit Enter. This will move he checkbox to the desired position.
- Finally hit the OK button to save your edits and close the dialog.

Conclusion
Now lets view the results.
- log in to the Application as GardenAdmin. You might have to log out before in case you are still loged in as the system user
- Type Office Room into the menu filter field.

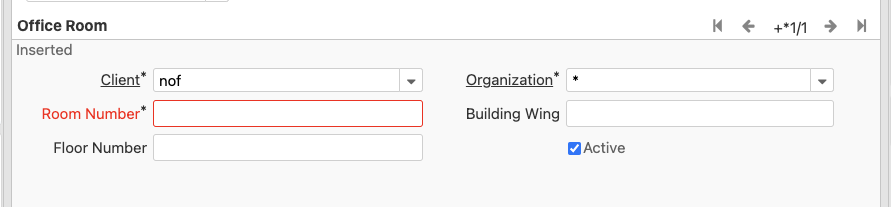
The Menu will pop up with only the Office Room entry visible. - Click the menu entry to open the Office Room window. Note that the mandatory Room Number field is lined red while it is empty.


Congratulations! You have finished this tutorial. You are now able to create your own custom tables complete with its own window and menu entry within iDempiere.