IDempiere Windows Installer
WARNING: The version of windows installer is outdated and unmaintained. Please refer to Installing iDempiere guide.
Introduction and Support
Thanks to initial work done by Red1, this tutorial is brought to you and supported by Ing. Tatioti Mbogning Raoul and Dr.-Ing Stanley Mungwe from IT-Kamer and ERP University Cluster http://erp-university-africa.com/). If you need support, have questions, criticism or improvement suggestions, feel free to write us an email
Download
The setup is available for both 32 and 64 bits windows operating systems. Use the links below to download the approriate setup for your windows.
Use the installer
After download iDempiere setup follow this steps :
- Right click on it and choose Run as administrator.
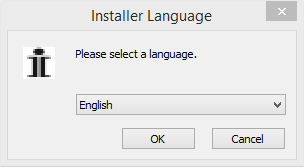
- Then you can select your language in the ComboBox.
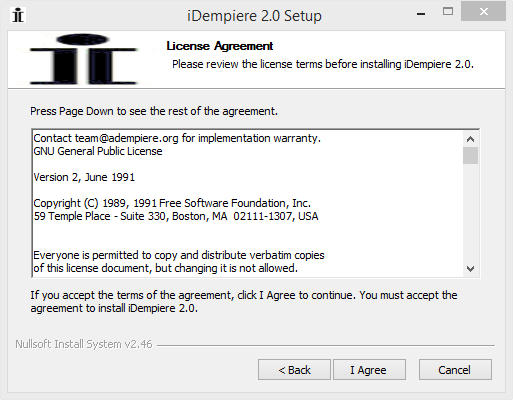
- Click on next and read licence.
- After accept the terms of the agreement, click I Agree to continue.
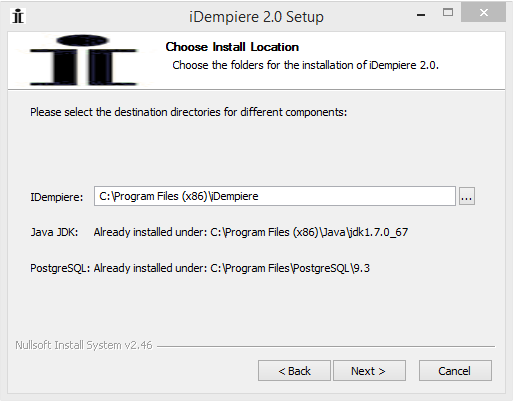
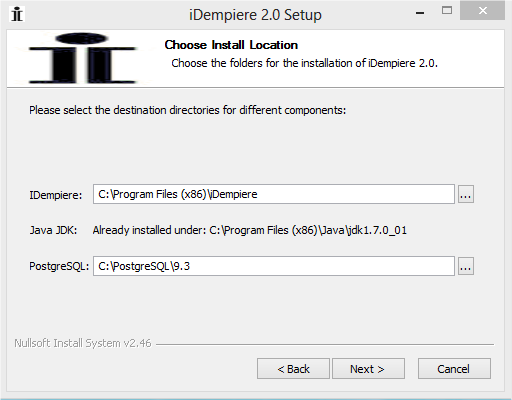
- Select the destination directories for iDempiere, Java JDK and PostgreSQL.
Note : On windows 8 and 8.1 if you install iDempiere on Program Files or Program Files(x86) you will have some problems because of Administrator right. So if you have windows 8 or 8.1, you can install iDempiere in C:\iDempiere or other directory.
Java JDK and PostgreSQL
The installer detect if Java JDK and PostgreSQL are already installed. If so, the installer will skip the installation of Java JDK and PostgreSQL. You can have this screen for example :
Note : If you are using the 32 bits setup on a 64 bit windows operating system, the installer will only check if there is a 32 bits installation of Java JDK. But it will detect both 32 bits and 64 bits installation of PostgreSQL.
- PostgreSQL already installed
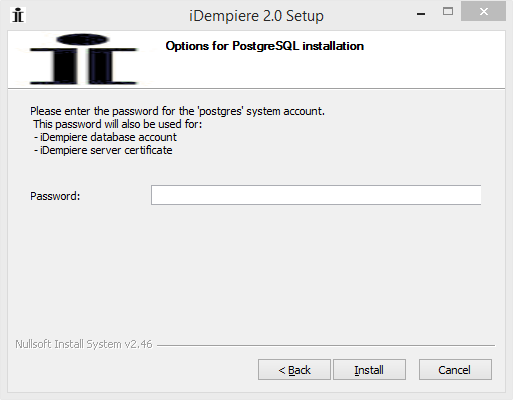
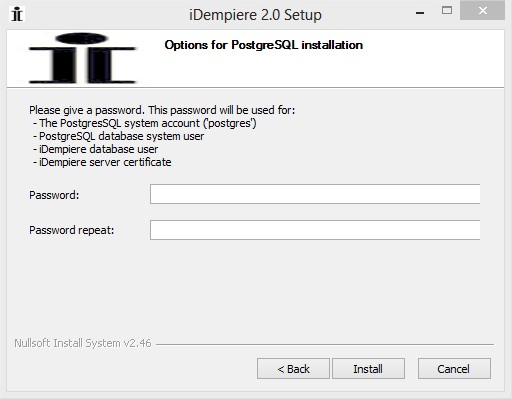
If PostgreSQL is already installed, this installation wil be used to import iDempiere database. After the page Chose Install Location, the next page will ask you to enter the password for system user potgres. This password will be used for the iDempiere database account and iDempiere server certificate.
You will have this screen in front of you :
Note : Be sure that the password you have entered is valid. If not, the setup will abort the installation.
- PostgreSQL is not installed
If PostgreSQL is not installed, the installer will install the package provided in the setup. After the page Licensse Agreement you will have this page :
After click on next you will have this page :
In this page, you must enter the password which will be used for the PostgreSQL system account, iDempiere database password and iDempiere server certificate.
After click on Next the installation will begin. Please wait during the installation process. The installation will create shorcut on the desktop named :
- iDempiere server
This shorcut is used to start iDempiere server.
- iDempiere client
This shorcut is used to start iDempiere client.
- 'Setup iDempiere
This shortcut is used to configure iDempiere's server, iDempiere's database and iDempiere's mail functions.
Configure iDempiere
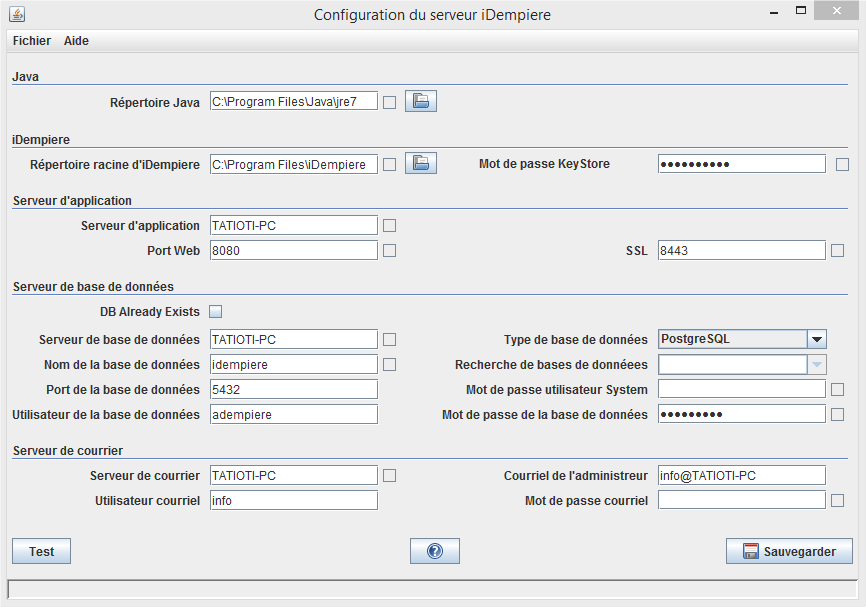
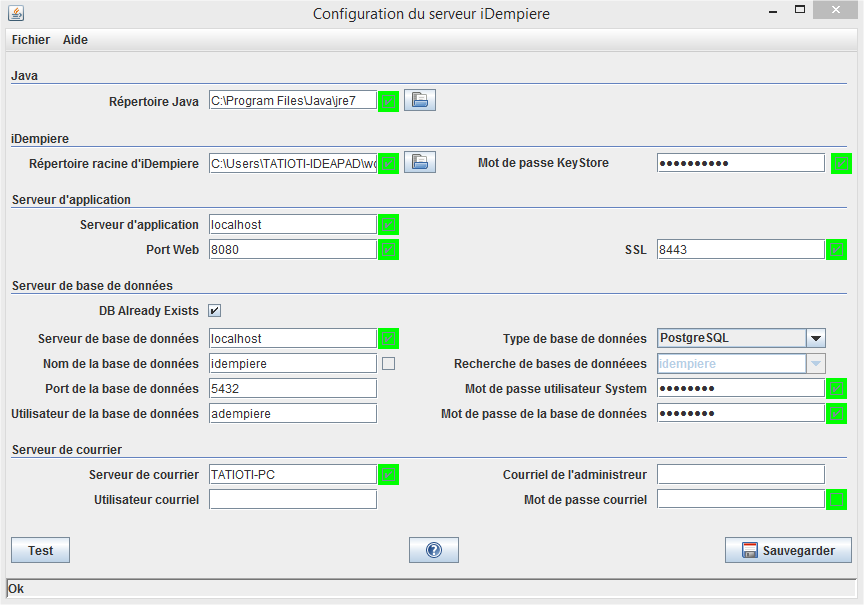
When the installation finish correctly, you must first configure iDempiere. To make it, you must run the shorcut Setup iDempiere located in your desktop. You must have this screen in front of you :
Note : On window 8 there will be some errors if you installed iDempiere in Programe Files or Programe Files(x86) because the configuration app will not have the good privilege to write in these directories.
- Java Home : Java JDK path
- IDempiere Home : The app will write idempiere.properties and idempiereEnv.properties.
- Application server : localhost
- Web port : 8080. You can put other value. You must be sure the specified port is open
- SSL : 8443. Port for SSL connection on idempiere server
- Database already exist : Check the box because you are succesfully create postgresql database and import data during the installation process
- Database server : Put the postgresql server hostname or IP adress
- Database type : Postgresql
- Database name : idempiere
- Database port : Put the postgresql server port
- Database User : adempiere
- Database password : Put the password you provided when you installed iDempiere(in the page Options for PostgreSQL installation)
- DB Admin password : Put the password for the system user postgres
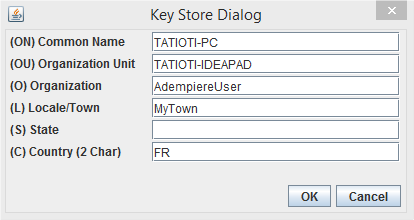
After fill the fields, you must click on the Test button. If it is the first lunch of iDempiere serveur Configuration app, the app will popup this page :
Fill the fields according to your organization, your name, state, town and country and click on button OK. After that, if all the checkbox is green so it is OK. You windows must looks like this :
You can save the configuration using the Save button an close the app.
Run iDempiere server
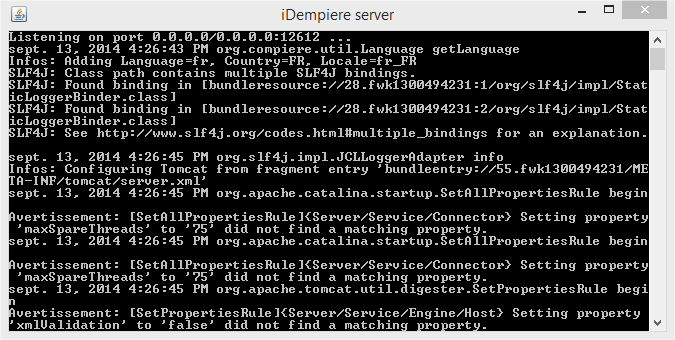
To run you can use the shortcut iDempiere server on the desktop.
You will have this screen :
Run iDempiere client
iDempiere has two users interfaces :
- Swing user interface
- Web user interface
Run iDempiere Swing UI
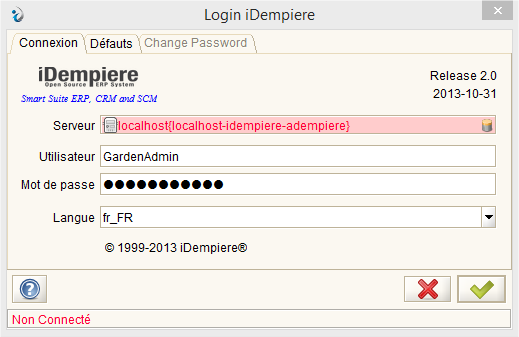
To run the swing UI you can use the shortcut iDempiere client on the desktop.
You will have this screen :
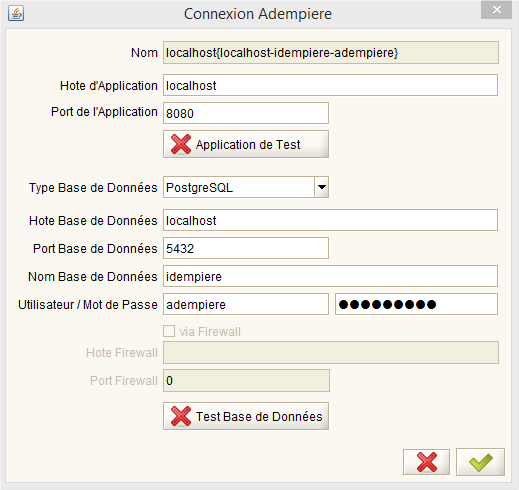
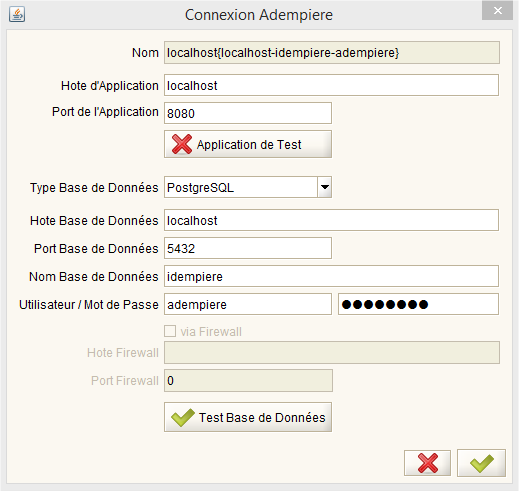
First, click on the server field (the two icons at the top right or left on the line Server). It must open this windows :
Fill the fields with the values provided in the section Configure iDempiere. After that, click on Test Database button. If everything is ok you will have this picture :
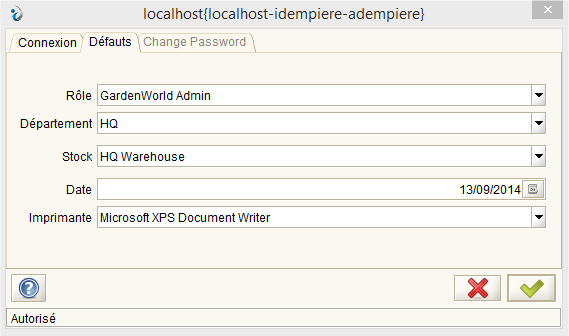
So validate the configuration and go back to the previous screen iDempiere Login. You can change language and left User ID and Password. Click on the login button (The button at the bottom left). You will have this picture :
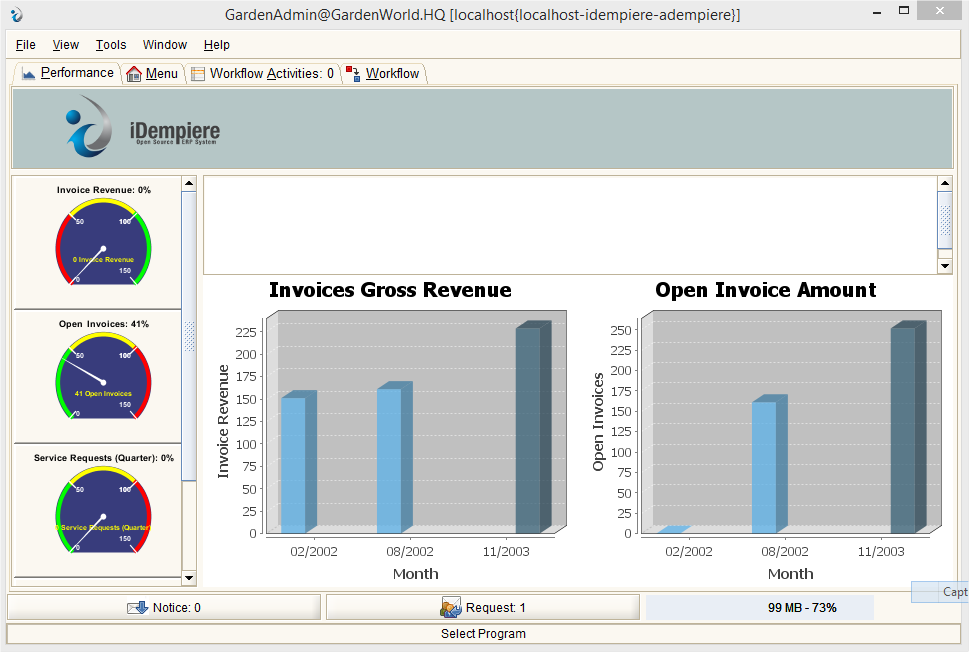
Select your Role, Department, Stock, Date and Printer and click on the button at the bottom left. Now the Swing UI will show and will look like this :
Enjoy !!!
Run iDempiere Web UI
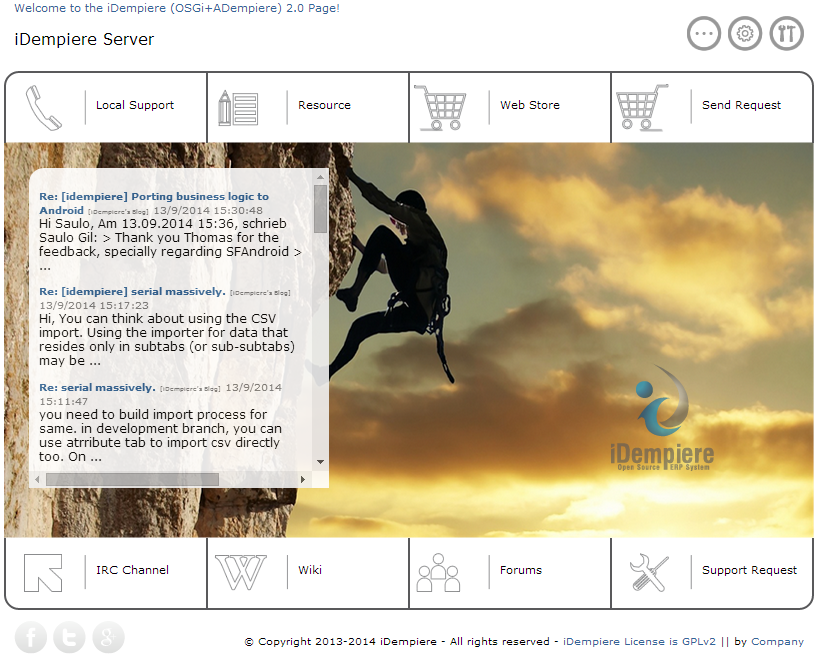
To run the web UI you must first run the server. After that, open you prefered browser and go to the page http://localhost:8080. You will have this picture :
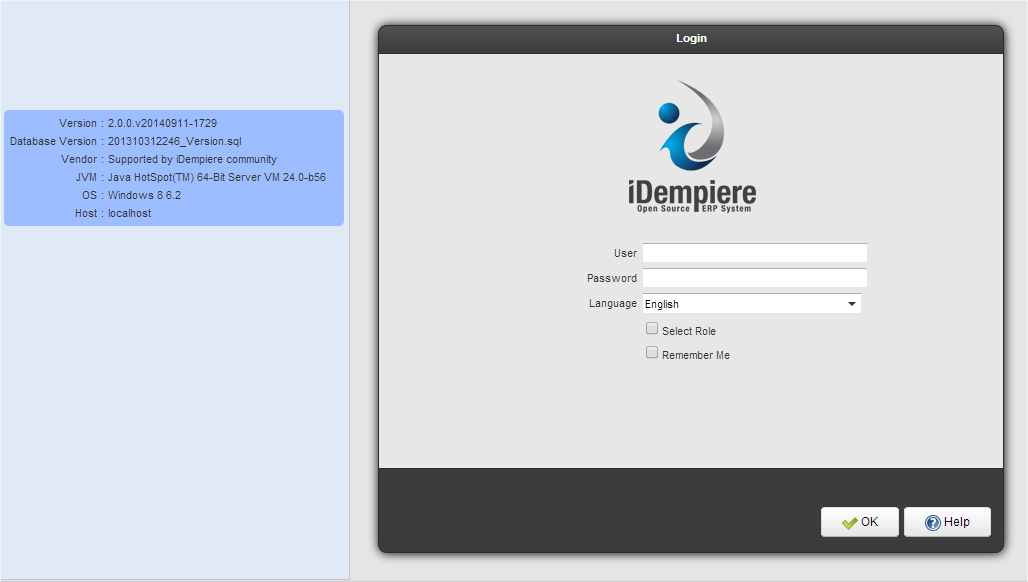
Click on the iDempiere's icon on the right. You will be redirected to this page :
- Login : SuperUser
- Password : System
You can logged using this account. You must redirect to this page :
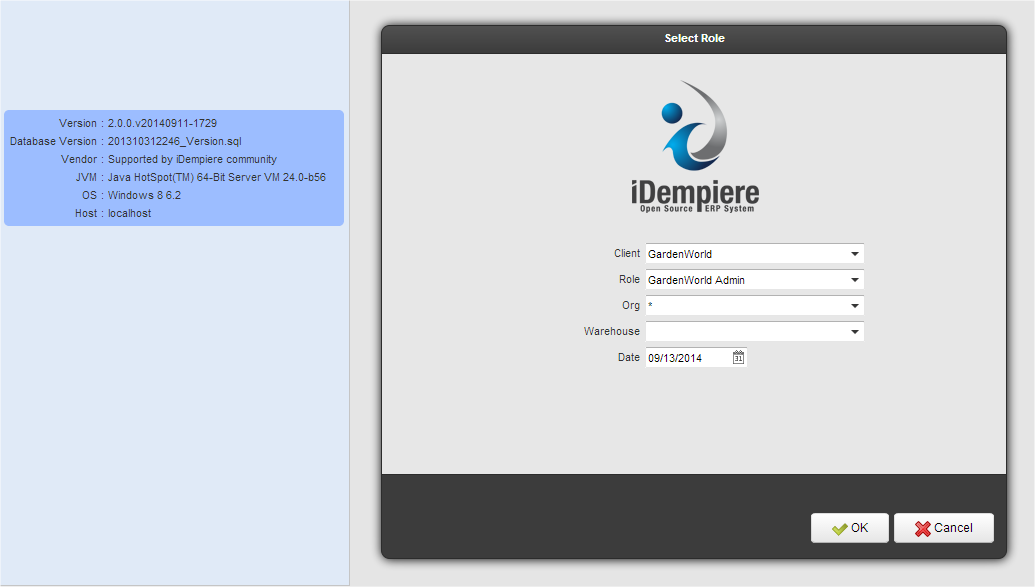
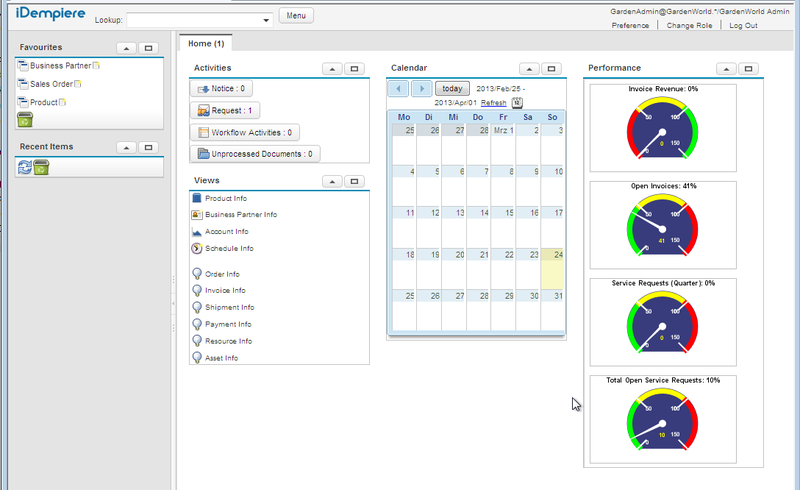
Select your Client, Role, Organization, Warehouse and Date. After this page you must be redirect web ui main page which looks like this :
Enjoy !!!
Author
Ing. Tatioti Mbogning Raoul
Under the direction of
Dr.-Ing Stanley A.Mungwe

